Electric scooter controller: what it does, faults and replacement
The controller reads the throttle, the brakes and the motor sensors, then powers the motor over three phases. What it does, how to read its voltage and amperage, how to recognise a real fault and how to replace it without ordering the wrong part.

Benjamin Gayaud
11 min read
Technical
Faulty controller? Check the cables, throttle and battery first.
The key points
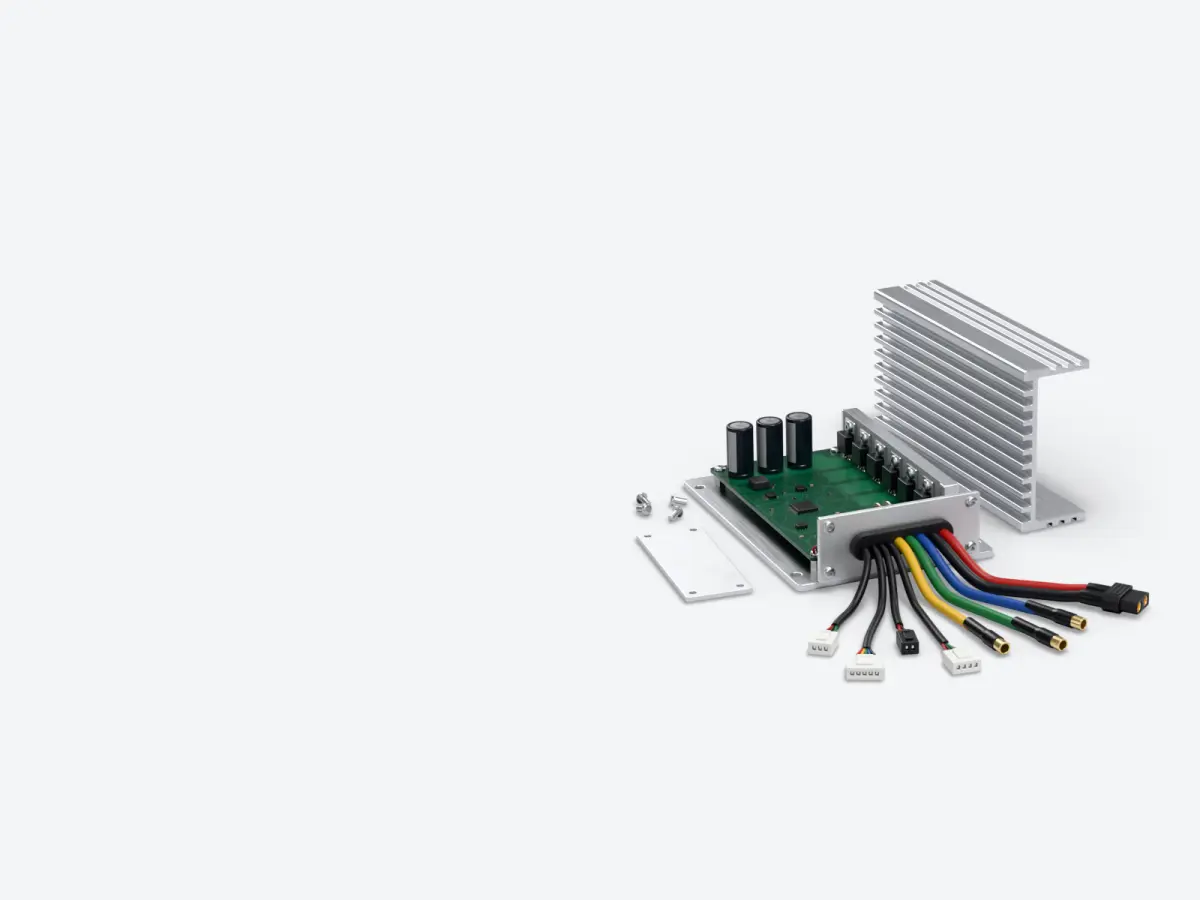
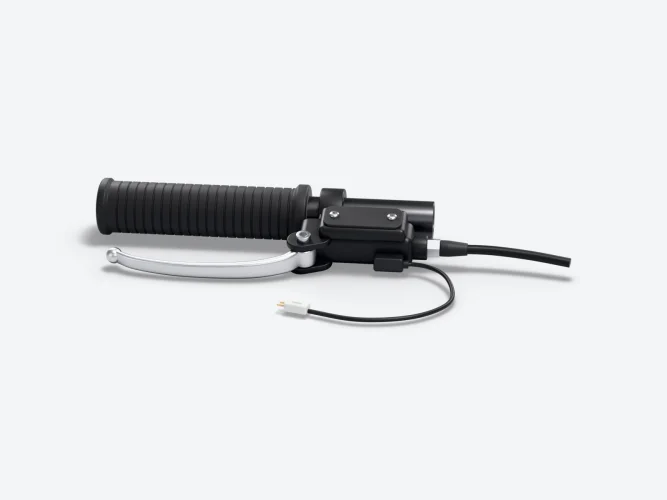
The controller is the electronic unit placed between the battery and the motor. It reads the throttle trigger, the brakes, the motor sensors and the display, then sends the motor the current it needs, over three phases. It is chosen according to the battery voltage, the original amperage and its position, front or rear. Before blaming it, rule out the throttle, the brake switches, the cables and the battery, which cause very similar symptoms.
6
power switches to supply the 3 phases of a brushless motor
2
controllers on a Dualtron Thunder 3, one at the front and one at the rear
22 to 70 A
the amperage of the controllers in our catalogue, from 36 to 84 V
85%
of maximum current according to the Nami manual, when a motor reaches its temperature limit
- The controller does more than power the motor. It controls it, based on everything it receives.
- Its product page gives two figures: the voltage, which is the battery's, and the amperage, the maximum current it lets through.
- On a dual-motor scooter, the letters A and B do not refer to the same wheel from one brand to another.
- A “controller” code is not enough to condemn the part. The cables are among the suspects.
- A controller is replaced like for like: same voltage, same amperage, same position, same version.
What does an electric scooter controller do?
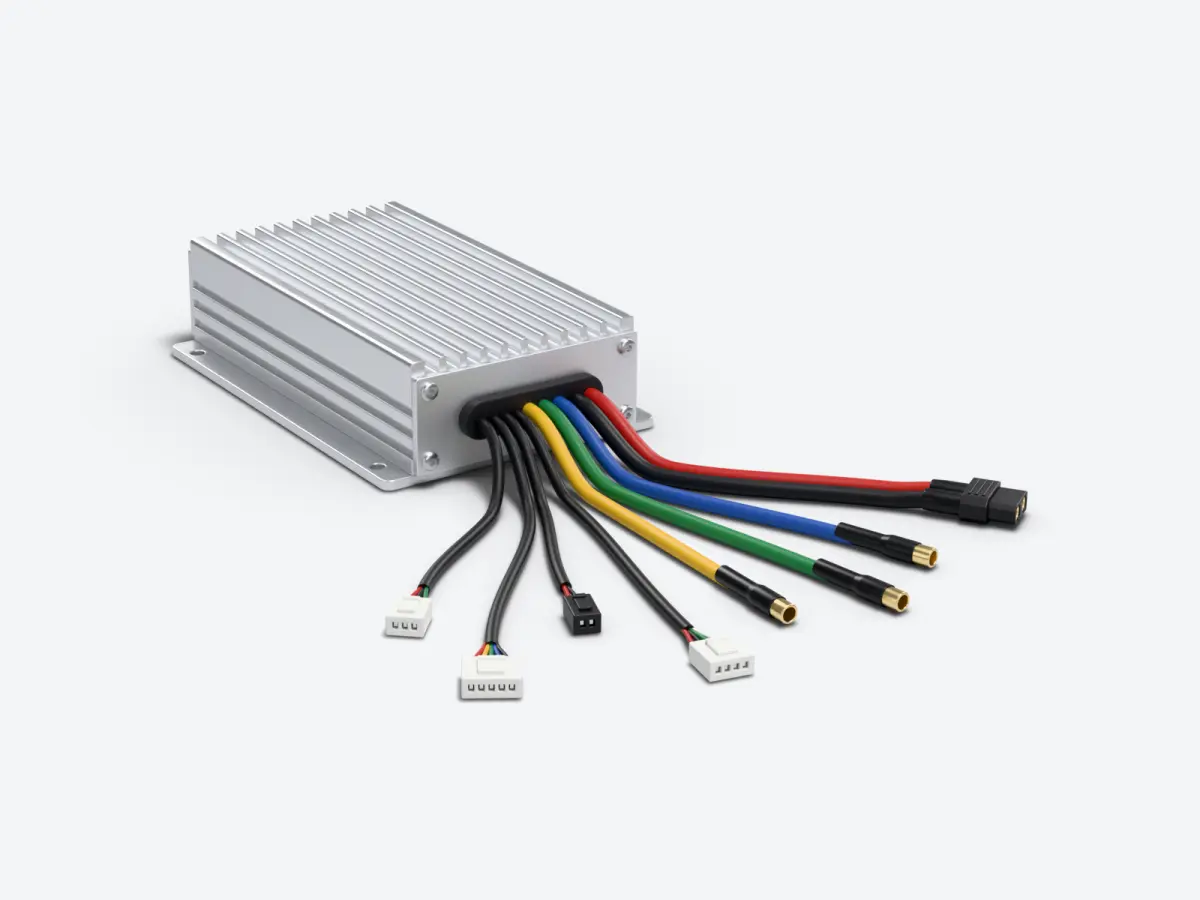
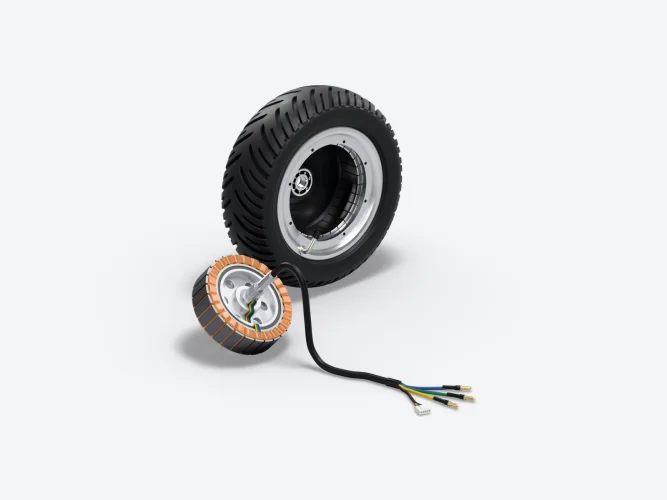
A scooter motor is a brushless motor housed in the wheel. Connected straight to the battery, it would not turn: its coils have to be powered in the right order and at the right moment. That is the controller's job. Texas Instruments describes the architecture: three half-bridges connect each motor phase to the positive or negative of the supply, and the controller decides which ones to close according to the rotor position given by the Hall sensors[1].
| What the controller receives | What it does with it |
|---|---|
| Current from the battery, through two thick wires | It chops it with its six power switches and sends it to the motor over three phases[2] |
| The motor's Hall sensors, through a cable of thin wires | It knows where the rotor is and chooses which phases to power[1] |
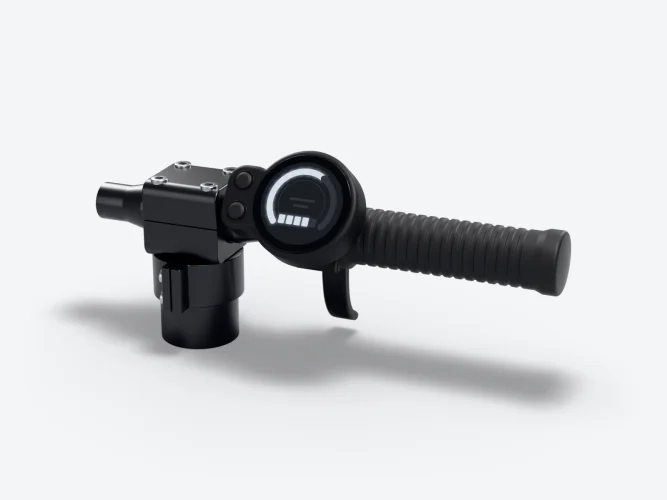
| The throttle trigger signal | From it, it works out the share of time during which the phases are powered, and therefore the average voltage sent to the motor[2] |
| The brake lever signal | It cuts acceleration while you brake |
| Settings from the display or the app | It applies the riding mode, the speed limit, kick start and the strength of motor braking[7] |
| Its own current and temperature measurements | It protects itself: it reduces power or cuts out in the event of overcurrent or overheating, and sends the fault to the display[4] |
Why Hall sensors?
A motor can also be driven without sensors, by measuring the voltage it produces as it turns. But at low speed, this voltage is too weak to be read. Texas Instruments concludes that a system needing a lot of torque from a standstill needs sensors[1]. That is exactly the case for a scooter pulling away uphill with an adult on board. The manufacturers' manuals from Odyssr, Teverun and InMotion, on our Documents page and quoted in our article on error codes, also have a code dedicated to Hall sensor faults[6][4].
Trapezoidal or sinusoidal control
The simplest control method powers two phases at a time and changes combination six times per electrical revolution[3][2]. Texas Instruments explains that these step changes cause torque ripple, which can lead to vibration and noise[3]. Sinusoidal control varies the current smoothly. That is what the Nami Klima manual announces: two 40 A “sine wave” controllers.
Amperage and voltage: how do you read a controller?
On our product pages, most controllers carry two figures, such as the “72V 65A” of those on the Dualtron Thunder 3. The first is the voltage of the battery it is designed for. The second, the amperage, is the maximum current it lets through. Multiply the two and you get the maximum power. The calculation and its pitfalls are covered in our article on electric scooter power.
| Scooter | Original controller according to our product pages |
|---|---|
| Dualtron Togo | 36 V, 25 A |
| Dualtron Forever | 60 V, 22 A, with ABS |
| Dualtron Victor | 60 V, 30 A |
| Dualtron Achilleus | 60 V, 35 A, an A at the front and a B at the rear |
| Dualtron Thunder 3 | 72 V, 65 A, an A at the front and a B at the rear |
| Dualtron X Limited | 84 V, 70 A, an A at the front and a B at the rear |
| Teverun 7260R | 72 V, 70 A, the same part at the front and at the rear |
| Teverun Fighter 11 | 60 V, an A at the rear and a B at the front |
| Odyssr Drift | An A at the rear and a B at the front |
Three things stand out. The letters A and B do not refer to the same wheel everywhere: A is at the front on the Dualtron models in the table, but at the rear on the Teverun Fighter 11 and the Odyssr Drift. The same model may have had several controllers: for the Dualtron Storm Limited, we sell one at 72 V 45 A and one at 84 V 60 A, and the voltage of your battery decides. Finally, some controllers also manage electronic ABS, like the one on the Forever.
More amps, a good idea?
No. The original controller is chosen together with the battery and the motor. A more generous controller draws more current from the battery, whose BMS cuts out precisely in the event of overcurrent or overheating[9]. It also makes the motor run hotter. Minimotors and Teverun ask you not to open or modify the battery, the controller or the motor[7][6]. A controller is replaced like for like.
Single or dual motor: one controller or two?
A single-motor scooter has one controller. A dual-motor scooter often has two, one per wheel, like the Dualtron Thunder 3 with its front A and rear B controllers. Each one then has its own fault codes: InMotion numbers them in the 100s for the front and the 200s for the rear[4], the Odyssr Drift manual distinguishes a front controller and a rear controller, and according to the Nami Burn-E manual, each controller is set independently in the riding modes.
This layout helps with diagnosis. Several dual-motor scooters can run on a single motor: a long press on M for the Odyssr Drift according to its manual, a long press on the cruise control button, when stationary, for the InMotion RS Jet[5]. If the fault disappears when only one side is working, you know where to look. On Nami scooters, the manual states that the P15 setting is there precisely to find out whether an error comes from the motor or the front controller.
What are the signs of a faulty controller?
The most reliable sign is still the code on the display. Almost every manual we have read has a “controller” fault: the controller symbol on Minimotors EY displays[8], E6 or 6 on Odyssr and Teverun[6], 40 on Nami. InMotion goes further and distinguishes a current measurement fault, an overcurrent and overheating of the power transistors[4].
- A controller code that comes back after a restart, with the scooter cold and the battery charged.
- Repeated controller overheating, with no particular strain, on the flat and in mild weather.
- A sudden loss of drive, with the display still on and the trigger and brakes ruled out.
- A burning smell, an unusually hot housing or a blackened phase plug near the controller.
- On a dual-motor scooter, one side only at fault, which stays at fault when you ride on that motor alone.
Water is another enemy. On the Sonic Alien, Minimotors sticks water ingress indicator labels on several parts, including the controller housing. A label that has changed colour indicates a fault caused by water[10].
The controller sheds its heat through its housing or through a heat sink. On several Dualtron models, this heat sink is sold separately, for the Thunder 3 or the Storm Limited for example. A controller that is not pressed firmly against it heats up faster and goes into protection more often.
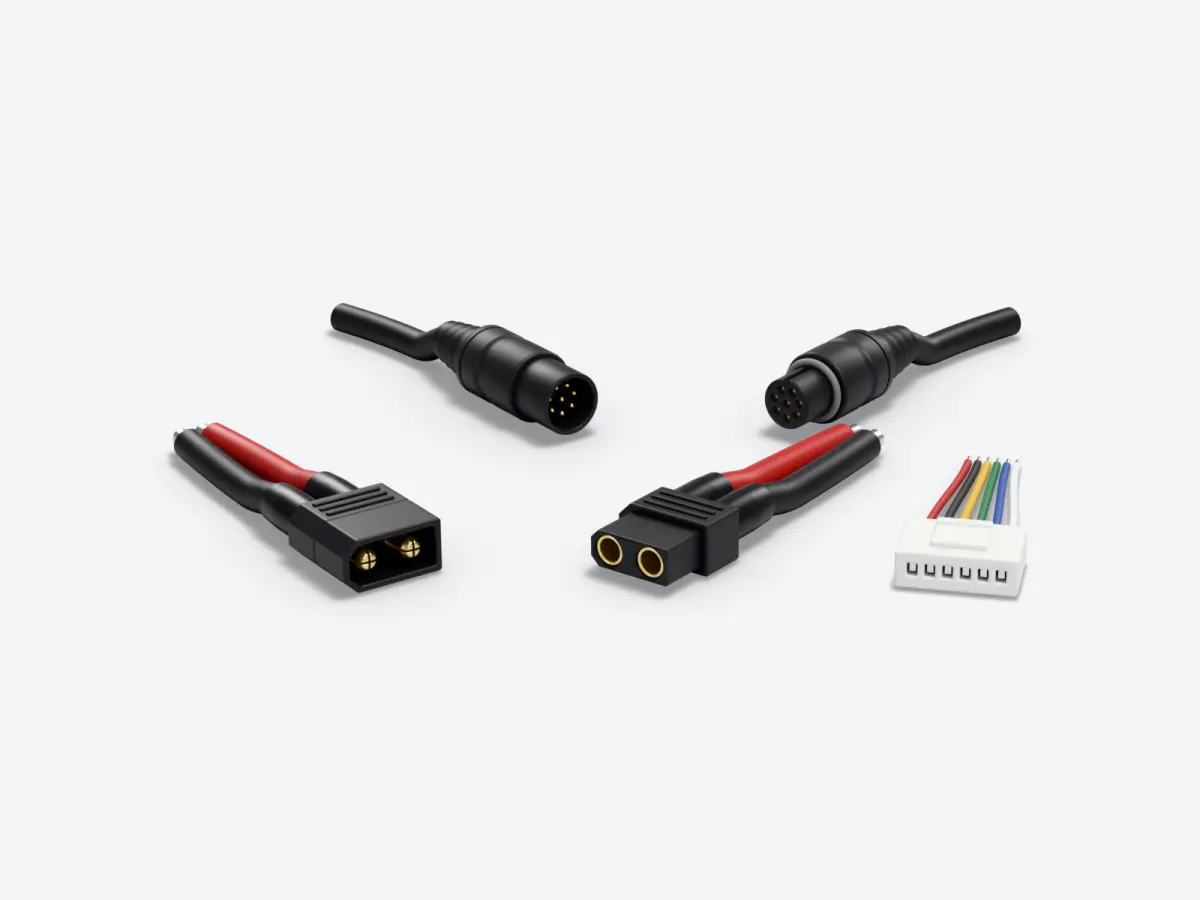
Conversely, a “controller” code sometimes hides something else. For a rear controller fault, the Odyssr Drift manual has you replace the controller, then the IVCU, then the main cable. So the cable is one of the suspects, and it takes less time to check.
Controller, motor, throttle or battery: how do you tell the difference?
Several parts cause the same symptoms as a faulty controller. Before changing it, rule them out in order. The table below covers the most common situations and what, in each one, really points to the controller.
| Symptom | Think first of | What points to the controller |
|---|---|---|
| Display on, no acceleration | The trigger and its cable, or a brake lever left engaged. An InMotion refuses to start if a brake or the trigger is applied at switch-on[4] | A controller code, or a throttle code that persists with a new trigger. The Odyssr Drift manual has you change the throttle first, then the rear controller |
| Motor judders or strains | The motor cable where it comes out of the axle, the phase plugs, the Hall sensor plug | For a phase fault, the Odyssr Drift manual has you replace the controller before the motor. For a Hall fault, the motor before the controller |
| Cut-out when accelerating or when the battery is low | The battery, its charge and its cable. The BMS cuts out in the event of overcurrent or over-discharge[9] | A controller or overcurrent code at the moment of the cut-out, with the battery charged |
| Loss of power after a long effort | The temperature. The Nami manual provides for reducing the current to 85% when a motor reaches its limit | Controller overheating that comes back quickly, with the scooter cold at the start |
| Nothing lights up | The battery, the power switch, the display cable | Nothing, as long as the display stays off. The controller can only be judged once power is restored |
- Read the code and note it down. On an EY2 or EY3 display, open the app to see it.
- Charge the battery, and let the scooter cool down if the code mentions temperature.
- Release the trigger and brakes, switch off, then switch back on without touching anything.
- On a dual-motor scooter, ride on one motor, then on the other.
- Have the plugs checked: phases, Hall sensors, trigger, brakes and display cable. The wiring diagram for your model shows where they are, and our article on reading a wiring diagram explains how to test a wire with a multimeter.
- Only then, the controller.
Before replacing a controller: the precautions
Replacing a controller with the same original part is still workshop work, on batteries of 36 to 84 V. If you have never taken a deck apart, leave it to one of our authorised repairers. If the scooter is under warranty, start with the Warranties & after-sales page.
- Switch off and disconnect the battery before touching any plug.
- Photograph each plug before undoing it, and mark the three phase wires by their colour and position.
- Note what is written on the old controller: voltage, amperage, letter A or B, version.
- Compare it with the product page of the new part: voltage, amperage, position, version and compatible models.
- Refit the controller pressed firmly against its heat sink or mount, like the original.
- Never force a plug. A connector that does not go in easily is the wrong one, or it is the wrong way round.
- Check the display settings without changing them. Wheel diameter, battery voltage and pole pairs are set at the factory, and Minimotors forbids any change to them[7].
- Do the first test with the wheel off the ground, the trigger barely pressed, then at low speed in an open area.
The pole pair setting is not a detail. One turn of the wheel takes as many electrical cycles as the motor has pole pairs[2]. This number is therefore used to convert cycles into speed: a wrong value gives a wrong speed reading.
Which controller should I choose for my scooter?
Voltage
That of your model's battery. Our controllers range from 36 to 84 V.
Version
Some controllers come in two versions for the same model, like those for the Dualtron X, marked V1 and V2 on our product pages.
Amperage
The original one. It is what the battery and the motor expect.
Display
The display generation matters too. The Ultra 2 controller is designed for the EY3 and EY4, and the Victor's lighting controller comes in an EY3 and an EY4 version.
Position
Front or rear, A or B. Read the product page: the letter does not mean the same side from one brand to another.
Exact name
An LED controller or a heat sink is not a motor controller. Read the full name of the part.
The safest approach is to start from the product page: each part in our controllers section lists the compatible models. If in doubt, send us a photo of the old controller and its plugs before ordering.
What should you do now?
- A code appears: look up its meaning in our article on error codes, display by display.
- No code: charge, let it cool down, release the brakes and trigger, restart.
- Dual motor: ride on one motor only to find the faulty side.
- Plugs and cables checked, fault still there: have the controller diagnosed.
- Replacement: same voltage, same amperage, same position, same version.
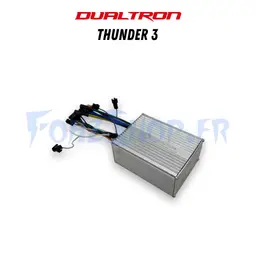
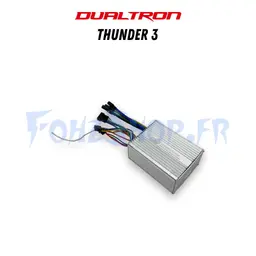
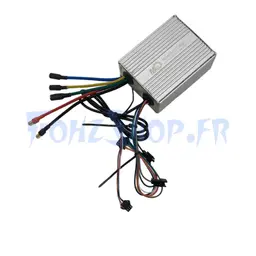
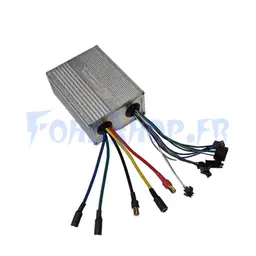
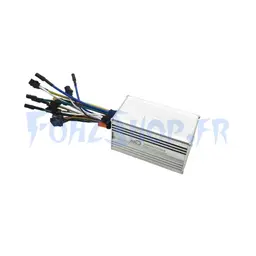
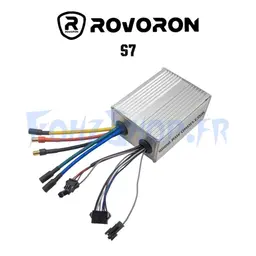
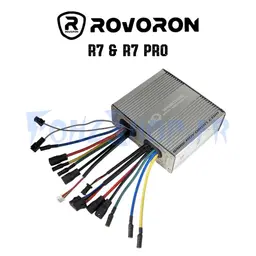
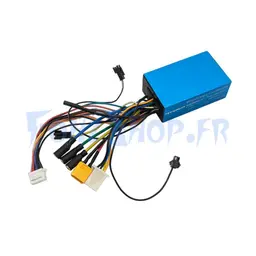
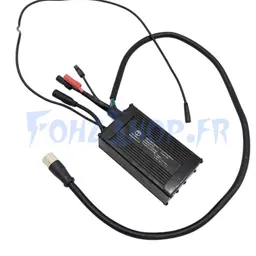
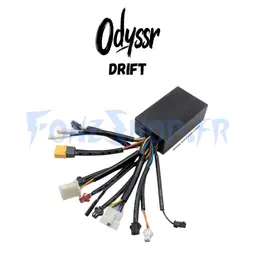
Here are some original controllers from our catalogue, for Dualtron, Rovoron, Teverun and Odyssr scooters. Check on each product page that your model is in the compatibility list.
Sources
- Texas Instruments, Application note SLVAEG3, revised November 2022, “Sensored commutation” and “BLDC Motor System Architecture” sections, Brushless DC Motor Commutation Using Hall-Effect Sensors
- Microchip Technology, Application note AN885, “Commutation sequence” section, Brushless DC (BLDC) Motor Fundamentals
- Texas Instruments, Technical article SSZT667, July 2018, “Trapezoidal” section, The Importance of the BLDC Driver Control Method
- InMotion, RS manual, “Error code” and “Other Faults”, accessed on 17 November 2026, InMotion RS User Manual
- InMotion, RS Jet manual, “Single/Double Drive Switching”, accessed on 17 November 2026, InMotion RS Jet User Manual
- Teverun, Fighter 11, Fighter Supreme and 7260R manual, safety instructions and “Error code” table, accessed on 17 November 2026, Fighter Supreme 7260R, Fighter 11 User Manual
- Minimotors (Dualtron), EY2 display manual, settings table and safety instructions, accessed on 17 November 2026, EY2 (Important information)
- Minimotors (Dualtron), EY4 display manual, “Common Failures and Solutions” page, accessed on 17 November 2026, EY4 (Important information)
- Minimotors (Dualtron), Thunder 3 manual, specifications, “Battery Management System” line, accessed on 17 November 2026, Dualtron Thunder 3 Product Manual
- Minimotors (Dualtron), Sonic Alien manual, location of the water ingress indicator labels, accessed on 17 November 2026, Alien Product Manual V2
About the author

Benjamin Gayaud
Managing director of FōhzShop
He runs FōhzShop and develops EyeX, the app for Dualtron and Rovoron scooters. He personally tests the electric scooters the shop sells.
Read next
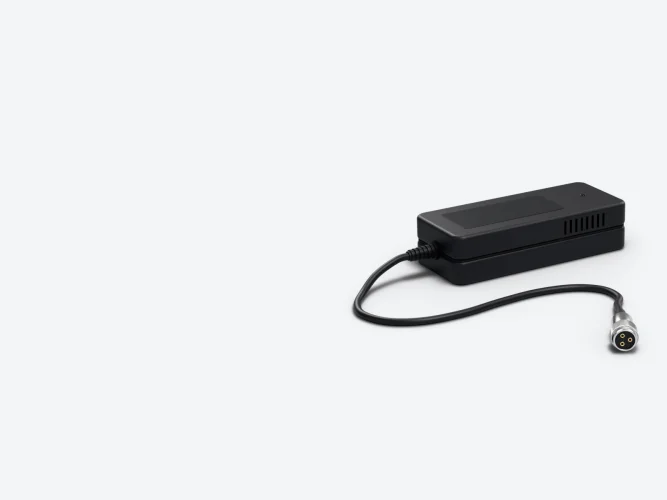
Technical10 min read
Electric scooter charger: voltage, amps, fast charging and connectors
A charger's output voltage must be exactly the one intended for your battery, its current sets the charging time and its plug must match your charging port. Here is how to read the label, work out the charging time and spot a faulty charger.
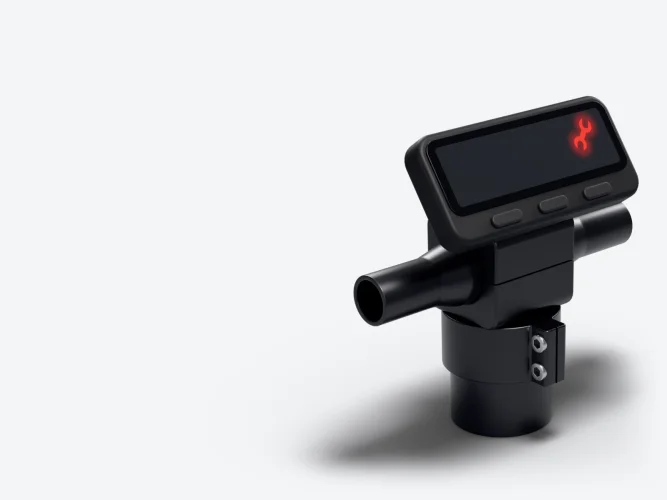
Technical14 min read
Electric scooter error codes: what they mean and how to fix them
E1, 80, 102, a red spanner or a thermometer: what each code shown on Dualtron, Rovoron, Odyssr, Teverun, Nami and InMotion displays means, according to their official manuals, with the part to check and what to do.
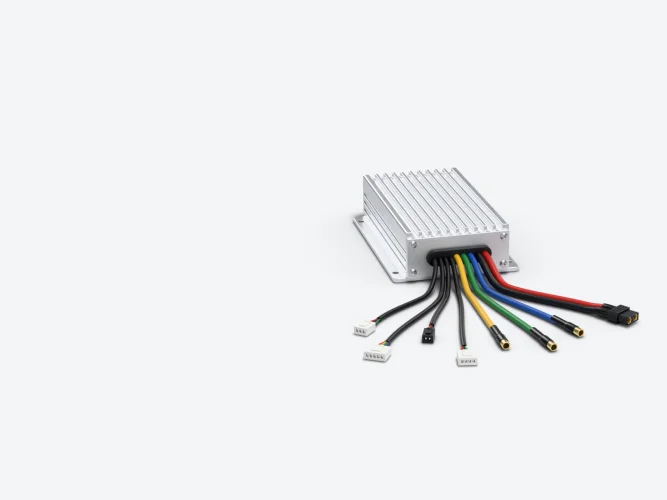
Technical12 min read
Dualtron electric scooter wiring diagram: how to read it and use it
Chinese and English labels, controllers, Hall sensors, wire colours, XT60 and board connectors: how to read the original wiring diagram for your Dualtron, use it to diagnose a fault and work safely.