Electric scooter error codes: what they mean and how to fix them
E1, 80, 102, a red spanner or a thermometer: what each code shown on Dualtron, Rovoron, Odyssr, Teverun, Nami and InMotion displays means, according to their official manuals, with the part to check and what to do.

Benjamin Gayaud
14 min read
Technical
A code on the screen? It tells you which part to check.
The key points
An error code is the scooter's controller flagging something it considers abnormal: the throttle, a motor and its sensors, the battery voltage, a temperature or the link with the display. Each brand has its own list, so the same number does not mean the same thing on a Nami and on a Teverun. Here, display by display, are the codes published in the manufacturers' manuals for the scooters we sell, with the part to check and what to do. These manuals are gathered on our Documents page.
4
fault symbols on the Dualtron and Rovoron EY displays
15
faults described in the table in the Odyssr Drift manual, each with its solution
E1 to E8
codes in the Odyssr Rodeo and Teverun Space manuals, with no E3
1 or 2
first digit of an InMotion code, for the front wheel or the rear wheel
- Note the code and when it appears: at switch-on, when accelerating, on a climb or when the battery is nearly flat.
- Overheating and low voltage are protections. Let the scooter cool down or recharge it before looking for a broken part.
- A code does not always point to the part to replace. For a phase or Hall sensor fault, the Odyssr Drift manual has you check the cables before replacing a motor or a controller.
- With a motor or controller code, stop riding. The Odyssr Rodeo manual asks you to stop the scooter as soon as an error message appears.
How does a scooter detect a fault?
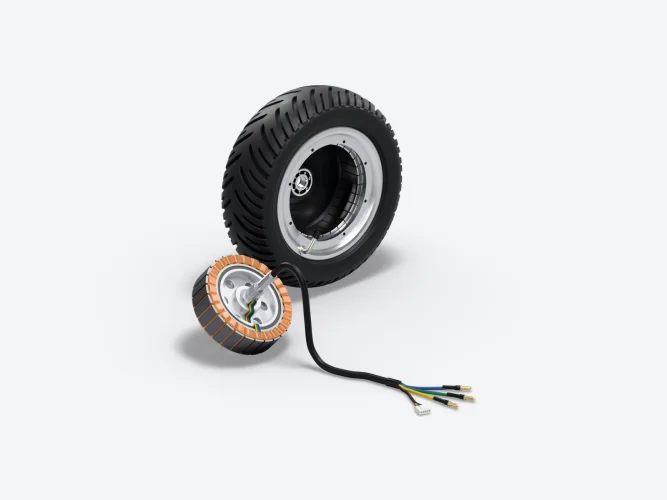
The controller is the electronic unit that sends current from the battery to the motor. To turn a brushless motor, it needs to know where the rotor is at every moment, and it is the motor's Hall sensors that tell it[13]. It also reads the throttle trigger, the battery voltage, the temperatures and the messages from the display. When one of these values goes outside its expected range, it cuts or reduces power, and the display shows a code or a symbol.
The controller's role and its faults have their own article, the electric scooter controller. Here, we start from the code on the screen. Almost all the published codes fall into six families.
Motor
A fault on one of the three phases, the thick wires linking the controller to the motor, or on the Hall sensors that give its position. Without them, the controller no longer knows which phases to power.
Voltage
Battery too low, more rarely too high. The scooter is protecting itself, and the battery is not necessarily damaged.
Controller
A fault in the unit itself. InMotion, for example, distinguishes a current measurement fault, an overcurrent and overheating of its power transistors.
Temperature
Controller, motor or battery too hot. Power drops, or the scooter cuts out while it cools down.
Throttle
The trigger signal is missing or abnormal. On an InMotion, a trigger already pressed at switch-on is enough to set off the code.
Communication
The display and the controller, or the two controllers, are no longer talking to each other. The cable between them is the first suspect.
Voltage and temperature codes are mostly about protection. On a Nami, for example, the manual provides for limiting maximum current to 85% and switching off turbo mode as soon as a motor reaches the set temperature. The scooter is not broken, it is looking after itself.
Dualtron and Rovoron EY displays: the red spanner and the four symbols
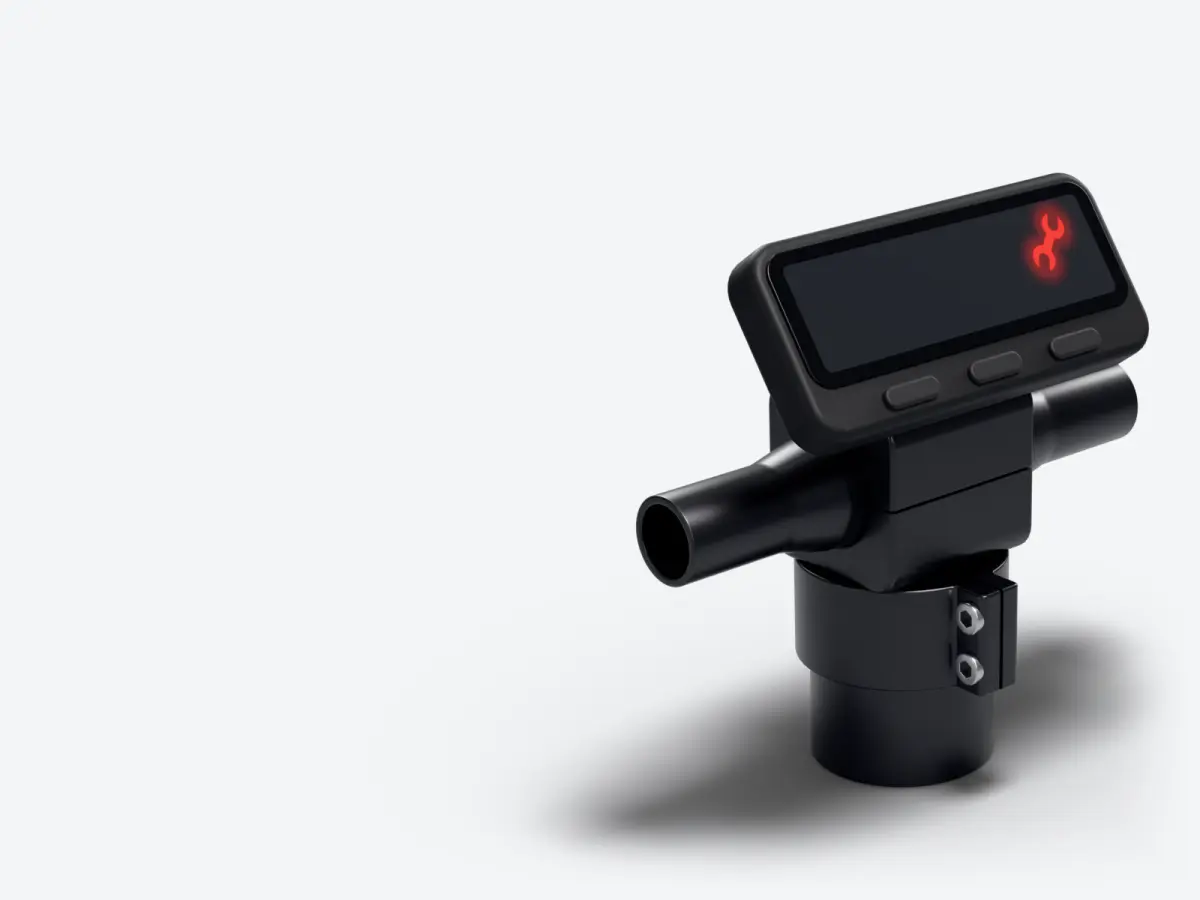
Minimotors' EY displays do not show a code number. On the EY2 and the new-generation EY3, a red spanner, the service symbol, lights up when there is a fault. The details are read in the app, which shows one of the four symbols in the table below[1][5]. The EY4 shows these four symbols directly on the screen[2].
The “Display” line in the manual tells you which display you have: EY4 on the Dualtron Thunder 3 and the Rovoron S7, New EY3 on the Rovoron R5 and R7[3][6][4][5]. Our article on the EY2, EY3, EY4 and EYA displays gives the match model by model.
| Symbol | Fault according to the manual | Part concerned | Your first step |
|---|---|---|---|
| Throttle | Throttle failure[2] | The trigger, its cable and its plug at the handlebars | Check that the trigger returns to its rest position by itself. If the symbol stays on, contact after-sales service. |
| Motor | Motor failure[2] | The motor, its phases and its Hall sensors | Stop riding. Check whether the motor cable is pinched or nicked where it comes out of the axle. |
| Controller | Controller failure[2] | The controller and its plugs | Stop riding. After-sales service or an authorised repairer. |
| Thermometer | Over-temperature protection[2] | The controller or the motor, too hot | Stop and let it cool down before setting off again. |
For the first three symbols, Minimotors' only instruction is to contact after-sales service or an authorised dealer. For overheating, the manual asks you to help the scooter shed its heat[2].
On the EY2 and EY3, open the Dualtron app to see the symbol. EyeX, the app we develop for Dualtron and Rovoron scooters, also shows system errors on its dashboard[14]. In its maintenance schedule, Minimotors asks you to update the firmware and to check that error notifications do appear in the app[1].
Odyssr Rodeo and Teverun: what do codes E1 to E8 mean?
The Odyssr Rodeo, the Teverun Space and the Teverun Blade Mini share the same list, from E1 to E8. None of the three manuals mentions an E3 code[7][8]. The colour display on the Teverun Fighter 11, Fighter Supreme and 7260R gives the same faults as a single digit at the bottom of the screen, from 1 to 8, with the same meaning[9].
| Code | Fault according to the manual | Part to check | First step |
|---|---|---|---|
| E1 or 1 | Motor phase fault | The three phase wires and their plugs, then the controller, then the motor | Stop riding. Have the motor cables checked. |
| E2 or 2 | Motor Hall sensor fault | The Hall sensor cable and its plug, then the motor, then the controller | Look at the cable where it comes out of the axle and at its plug, without forcing anything. |
| E4 or 4 | Throttle handle fault | The trigger or the grip, its cable and its plug | Let go of everything, switch off, then switch back on without touching the trigger. |
| E5 or 5 | Low voltage protection | The battery | Charge it fully. If the code comes back with a full battery, take it to a workshop. |
| E6 or 6 | Controller fault | The controller | Stop riding. Workshop. |
| E7 or 7 | The controller is not receiving data from the display | The cable and plug between the display and the controller | Check that the display plug is pushed fully home. |
| E8 or 8 | High temperature protection | The controller or the motor | Stop and let it cool down. |
The order in the “Part to check” column comes from Odyssr. In the Drift manual, a phase fault means checking the motor and controller cables, then replacing the controller, then the motor. A Hall sensor fault means checking the same cables, then replacing the motor, then the controller.
Odyssr Drift and Teverun Fighter Mini: the symbols and their solutions
The Drift shows neither letters nor numbered codes, but symbols. Its manual describes fifteen of them, numbered from 1 to 16 with no 6. The first five can only be seen in the app, the others on the display and in the app. For each one, the manual gives the parts to try, in order.
| No. | Symbol | Fault | What Odyssr asks, in order |
|---|---|---|---|
| 1 | Two crossed-out diamonds, R V and F V | Front or rear controller, or IVCU | Replace the IVCU or update its program, then the rear controller, then the front controller, then the main cable |
| 2 | Crossed-out diamond R V | Rear controller or IVCU | Rear controller, then IVCU, then main cable |
| 3 | Crossed-out diamond F V | Front controller | Front controller, then IVCU, then main cable |
| 4 | Unit marked R | Rear controller | Replace the rear controller |
| 5 | Unit marked F | Front controller | Replace the front controller |
| 7 | Crossed-out diamond D V | Display or IVCU | Display, then IVCU, then main cable |
| 8 | Thermometer | Overheating protection | Check the overheating settings, leave the scooter switched off for 5 minutes, then rear controller, then front controller |
| 9 | Throttle | Throttle fault | Throttle, then rear controller, then main cable, then front controller |
| 10 | Battery marked “Low” | Low voltage | Reset by selecting the correct model, charge for a while, then main cable, then front controller |
| 11 | Red RM | Rear motor phase | Check the motor and controller cables, then controller, then rear motor |
| 12 | Red FM | Front motor phase | Check the front motor and controller cables, then front controller, then front motor |
| 13 | Yellow RM | Rear motor Hall sensor | Check the cables, then rear motor, then rear controller |
| 14 | Yellow FM | Front motor Hall sensor | Check the cables, then front motor, then front controller |
| 15 | Yellow triangle with a battery | High battery temperature | Leave the scooter switched off for 5 minutes, then update the BMS program and replace the battery |
| 16 | Red triangle with a battery | High battery temperature | Same instruction as for 15 |
The IVCU comes up often in this table. The manual names it without describing it. For fault no. 1, it is the first thing to deal with, and updating its program may be enough when the LED light flashes in a single colour without ever changing.
The Teverun Fighter Mini manual uses the same family of symbols: an F unit for the front controller, an R unit for the rear controller, FM and RM for the motors' Hall sensors, then the battery, the throttle, low voltage, the display and system overheating[10]. It says which symbol lights up, without giving a part-by-part solution.
Nami: what do codes 20, 30, 40 and 80 mean?
According to the Nami manuals, the code is shown in red with the display's warning sign. The Burn-E, the Klima and the Blast use four codes. The Stellar and the Super Stellar have seven, which specify front or rear.
| Code | Burn-E, Klima and Blast | Stellar and Super Stellar | Part to check |
|---|---|---|---|
| 80 | Throttle | Throttle | The trigger, its cable and its plug |
| 20 | Front or rear motor error | Not in the list | The motor, its cable and its plugs |
| 201 and 202 | Not in the list | Rear (201) or front (202) motor error | The motor concerned, its cable and its plugs |
| 30 | Communication error for the rear or front controller | Not in the list | The connecting cables between the display and the controllers |
| 301 and 302 | Not in the list | Communication error for the rear (301) or front (302) controller | The cable of the controller concerned |
| 40 | Rear or front controller error | Not in the list | The controller |
| 501 and 502 | Not in the list | Communication error between the display and the rear (501) or front (502) controller | The cable between the display and that controller |
The Burn-E manual states that the display's P15 setting is there precisely to find out whether an error comes from the motor or the front controller. Set to 1, it shows the code. Set to 0, it hides it. Keep it on 1: a hidden code fixes nothing.
InMotion RS and RS Jet: the three-digit codes
InMotion publishes the most detailed list. Codes in the 100s and 200s concern the drive system, and their first digit gives the wheel: 1 for the front, 2 for the rear[11]. Codes beginning with 0 concern the battery, the controls and the scooter's sensors.
| Code | Fault according to the manual | InMotion's explanation or instruction |
|---|---|---|
| 101 or 201 | Controller current sampling failure | Restart, otherwise contact after-sales service for a replacement |
| 102 or 202 | Motor Hall fault | Contact after-sales service to have the motor replaced |
| 109 or 209 | The display is not receiving data from the controller | Communication failure |
| 110 or 210 | The controller is not receiving data from the display | Communication failure |
| 111 or 211 | Overheating of the controller's power transistors | Stop and wait for it to cool down |
| 112 or 212 | Motor overheating | Stop and wait for it to cool down |
| 114 or 214 | Overheating of the controller's microcontroller | Stop and wait for it to cool down |
| 117 or 217 | Controller overcurrent | Restart, otherwise contact after-sales service for a replacement |
| 118 or 218 | Motor blocked | Remove the obstruction, otherwise contact after-sales service |
| 003 | Battery communication failure | Contact after-sales service for a replacement |
| 004 | Battery voltage too low | Charge the battery |
| 005 | Battery voltage too high | Stop riding and contact after-sales service |
| 006 | Brake lever pulled at switch-on | Release the brake or check the lever |
| 007 | Trigger disconnected or pressed at switch-on | Release the trigger or check it |
| 008 | Battery error | Contact after-sales service for a replacement |
| 013 | Battery overheating | Stop and wait for it to cool down |
| 015 | Gyroscope initialisation failure | Contact after-sales service |
| 016 | Fall warning, scooter tilted more than 45° | Warning only, with no further instruction |
| 019 | Mandatory firmware update | Connect the app to carry it out |
Codes 015 and 016 appear in the RS manual, 019 in the RS Jet manual[11][12]. Codes 006 and 007 are the easiest to clear: the scooter refuses to start if a brake or the trigger is applied at switch-on.
Is your model not on the list?
We have only included codes published in an official manual. If your scooter does not appear here, it is because we did not find a list of codes in its manual. Note the code, take a photo of the display and write to us. The manuals we have gathered are on our Documents page.
Diagnosis by symptom: from the code to the part
Codes change from one brand to another, symptoms much less so. This table brings together, for each situation, the codes that point to the same part.
| What you notice | Matching codes | Check first |
|---|---|---|
| The display is on, but the scooter will not accelerate | Throttle symbol on EY displays, E4 or 4, 80 on a Nami, 007 on an InMotion, symbol 9 on the Drift | The trigger, which must return to zero by itself, its cable and its plug at the handlebars |
| The scooter refuses to start, a brake is applied | 006 on an InMotion | The brake lever, to be released before switching on, and its cut-off switch |
| The motor judders or strains when pulling away | EY motor fault, E1 or 1, E2 or 2, 20, 201 or 202 on a Nami, 102 or 202 on an InMotion, symbols 11 to 14 on the Drift | The motor cable where it comes out of the axle, the phase plugs and the Hall sensor plug |
| Power drops and then cuts out on a climb or after a long ride | EY thermometer, E8 or 8, 111, 112 or 114 and their rear equivalents, symbol 8 on the Drift | The temperature. Let it cool down and go easy on the scooter |
| Cut-out when the battery is low or at every hard acceleration | E5 or 5, 004 on an InMotion, symbol 10 on the Drift | The battery charge, then the cables and the battery |
| The display lights up but no longer communicates with the scooter | E7 or 7, 30, 301, 302, 501 or 502 on a Nami, 109, 110, 209 or 210 on an InMotion | The cable and plug between the display and the controller, then the main cable |
| Only one wheel drives on a dual-motor scooter | Front or rear codes, F or R, in the 100s or 200s | The faulty side. Ride on one motor only to find it |
| Nothing lights up | No code | The battery, the power switch and the display cable |
On a dual-motor scooter, several models can run on a single motor. On the Drift, according to its manual, a long press on M switches from the front motor to the rear motor, then to both. On the RS Jet, a long press on the cruise control button, with the scooter stationary, does the same[12]. If the fault disappears when the front motor runs on its own, look at the rear, and vice versa.
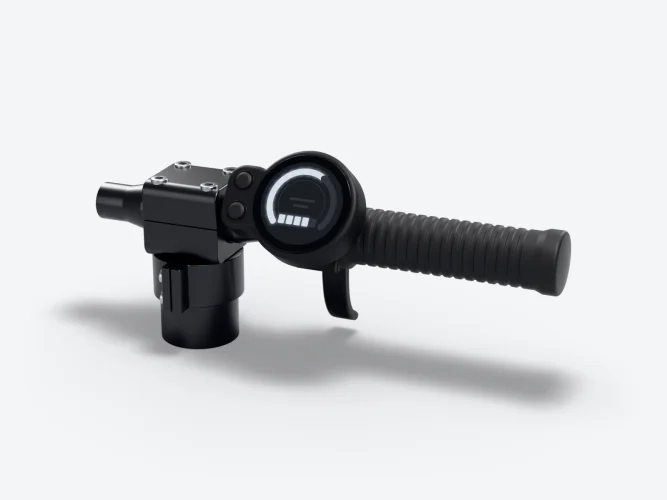
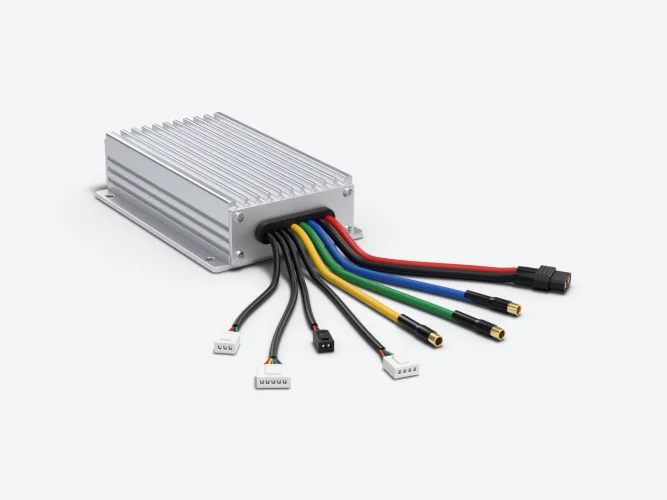
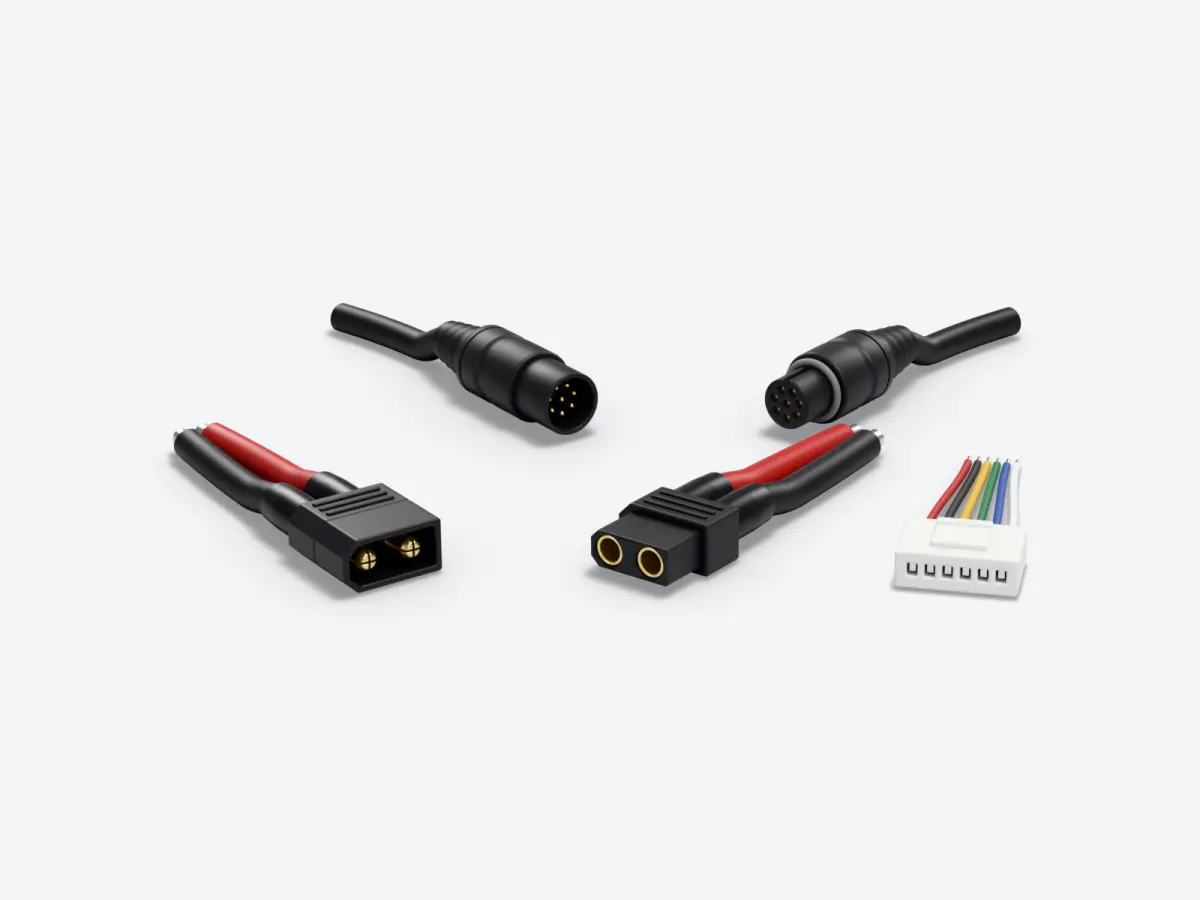
To follow a cable from its plug to the component, use the wiring diagram for your model. Our article on reading a wiring diagram explains how to do it and how to test a wire with a multimeter, with the scooter switched off.
What to do when a code appears
- Stop somewhere safe. Note the code or take a photo of the display.
- Release the trigger and the brakes, switch off, wait a few seconds and switch back on without touching anything. InMotion recommends restarting for several controller faults[11].
- Temperature code: leave the scooter switched off for at least 5 minutes, as the Odyssr Drift manual asks.
- Low voltage code: charge the battery fully, then try again.
- Throttle, brake or communication code: look at the plugs at the handlebars and at the cable routing, without forcing anything and without opening the battery.
- Motor or controller code that keeps coming back: stop riding and have the scooter diagnosed.
- Install the firmware updates offered by the manufacturer's app. Minimotors includes them in its maintenance schedule[1].
Is your scooter under warranty? The Warranties & after-sales page explains what to do. For a repair, contact one of our authorised repairers.
Sources
- Minimotors (Dualtron), EY2 display manual, “Common Failures and Solutions” and “Recommended Maintenance Schedule” pages, accessed on 17 November 2026, EY2 (Important information)
- Minimotors (Dualtron), EY4 display manual, “Common Failures and Solutions” page, accessed on 17 November 2026, EY4 (Important information)
- Minimotors (Dualtron), Thunder 3 manual, specifications, “Display” line, accessed on 17 November 2026, Dualtron Thunder 3 Product Manual
- Minimotors (Rovoron), R5 manual, specifications, “Display Type” line, accessed on 17 November 2026, Rovoron R5 Product Manual
- Minimotors (Rovoron), R7 manual, specifications and “Common Failures and Solutions” page, accessed on 17 November 2026, Rovoron R7 Product Manual
- Minimotors (Rovoron), S7 manual, specifications, “Display Type” line, accessed on 17 November 2026, Rovoron S7 Product Manual
- Teverun, Space manual, “Fault code” section, accessed on 17 November 2026, Teverun Scooter User Manual (Space)
- Teverun, Blade Mini manual, 2025 edition, “Fault code” section, accessed on 17 November 2026, Blade Mini User Manual
- Teverun, Fighter 11, Fighter Supreme and 7260R manual, “Error code” table for the TFT display, accessed on 17 November 2026, Fighter Supreme 7260R, Fighter 11 User Manual
- Teverun, French-language manual for the Fighter Mini, Blade Mini and Blade GT, table “5.2 Codes d'erreur”, accessed on 17 November 2026, Manuel d'utilisation Teverun Mini
- InMotion, RS manual, “Error code” and “Other Faults”, accessed on 17 November 2026, InMotion RS User Manual
- InMotion, RS Jet manual, “Error code”, “Other Faults” and “Single/Double Drive Switching”, accessed on 17 November 2026, InMotion RS Jet User Manual
- Texas Instruments, Application note SLVAEG3, revised November 2022, Brushless DC Motor Commutation Using Hall-Effect Sensors
- Apple, App Store, app listing, accessed on 17 November 2026, EyeX, Dualtron & Rovoron
About the author

Benjamin Gayaud
Managing director of FōhzShop
He runs FōhzShop and develops EyeX, the app for Dualtron and Rovoron scooters. He personally tests the electric scooters the shop sells.
Read next
Technical10 min read
Electric scooter charger: voltage, amps, fast charging and connectors
A charger's output voltage must be exactly the one intended for your battery, its current sets the charging time and its plug must match your charging port. Here is how to read the label, work out the charging time and spot a faulty charger.
Technical11 min read
Electric scooter controller: what it does, faults and replacement
The controller reads the throttle, the brakes and the motor sensors, then powers the motor over three phases. What it does, how to read its voltage and amperage, how to recognise a real fault and how to replace it without ordering the wrong part.
Technical12 min read
Dualtron electric scooter wiring diagram: how to read it and use it
Chinese and English labels, controllers, Hall sensors, wire colours, XT60 and board connectors: how to read the original wiring diagram for your Dualtron, use it to diagnose a fault and work safely.