Dualtron electric scooter wiring diagram: how to read it and use it
Chinese and English labels, controllers, Hall sensors, wire colours, XT60 and board connectors: how to read the original wiring diagram for your Dualtron, use it to diagnose a fault and work safely.

Benjamin Gayaud
12 min read
Technical
Original diagram: identify a wire by its pin, not its colour.
The key points
A wiring diagram is the map of your scooter's wiring. It shows every component, from the battery to the lights, and the wires that connect them, with their colours and their plugs. It saves you from taking things apart at random, helps you order the right part and lets you explain a fault clearly to a repairer. Our Wiring diagrams page publishes the manufacturers' original diagrams as PDFs, including those for 40 Dualtron models. These are factory drawings, written in Chinese and English. Here is how to read them and use them safely.
> 100 A
of short-circuit current possible from a single lithium-ion cell, according to INRS
5 wires
in a motor's Hall sensor cable, on the Dualtron X Limited diagram
60 V
DC, the voltage above which INRS warns of a risk of electric shock
35 A
through an XT60 plug wired in 12 AWG, according to its manufacturer Amass
- Read a diagram block by block. First the battery and charging, then the controllers and motors, and finally the controls and lighting.
- The labels are in English and Chinese, and some wire colours are written in Chinese only. The two tables in this article translate them.
- A wire is identified by its plug and its pin number, not just by its colour.
- Before touching any wire, switch the scooter off and disconnect the battery. Battery, controller and power cables are a job for a repairer.
Where can you find the wiring diagram for your scooter?
On the Wiring diagrams page, the diagrams are sorted by brand. You will find 40 Dualtron models, Rovoron and Teverun models, and a few other brands. Clicking a model opens the manufacturer's official PDF, exactly as it was drawn.
These diagrams are factory documents. Everything fits on one large page, with labels in English and Chinese. In the bottom right-hand corner, a title block gives the model name, the controller type and the date of the drawing. The one for the Thunder 3, for example, reads “DT-THUNDERⅢ type DC brushless front motor controller (A)” and is dated 3 March 2023.
The components of a diagram and their names on the original
On an original diagram, each component carries its name in Chinese and English. Some of the English names are word-for-word translations that you need to know to find your way around. Here are the components you will come across, with their exact labels.
| Component | Label on the diagram | What you need to know |
|---|---|---|
| Battery | “72V lithium battery pack”, 72V电池组 | The block shows the model's nominal voltage, from 36 V on the Togo or the Dolphin to 84 V on the X Limited or the Storm Limited. Two thick wires come out of it, red for positive, black for negative. |
| BMS | “BMS”, rarely | The protection board housed in the battery. It monitors each cell, the current and the temperature[4]. It is rarely drawn. The Sonic Alien diagram is one example. |
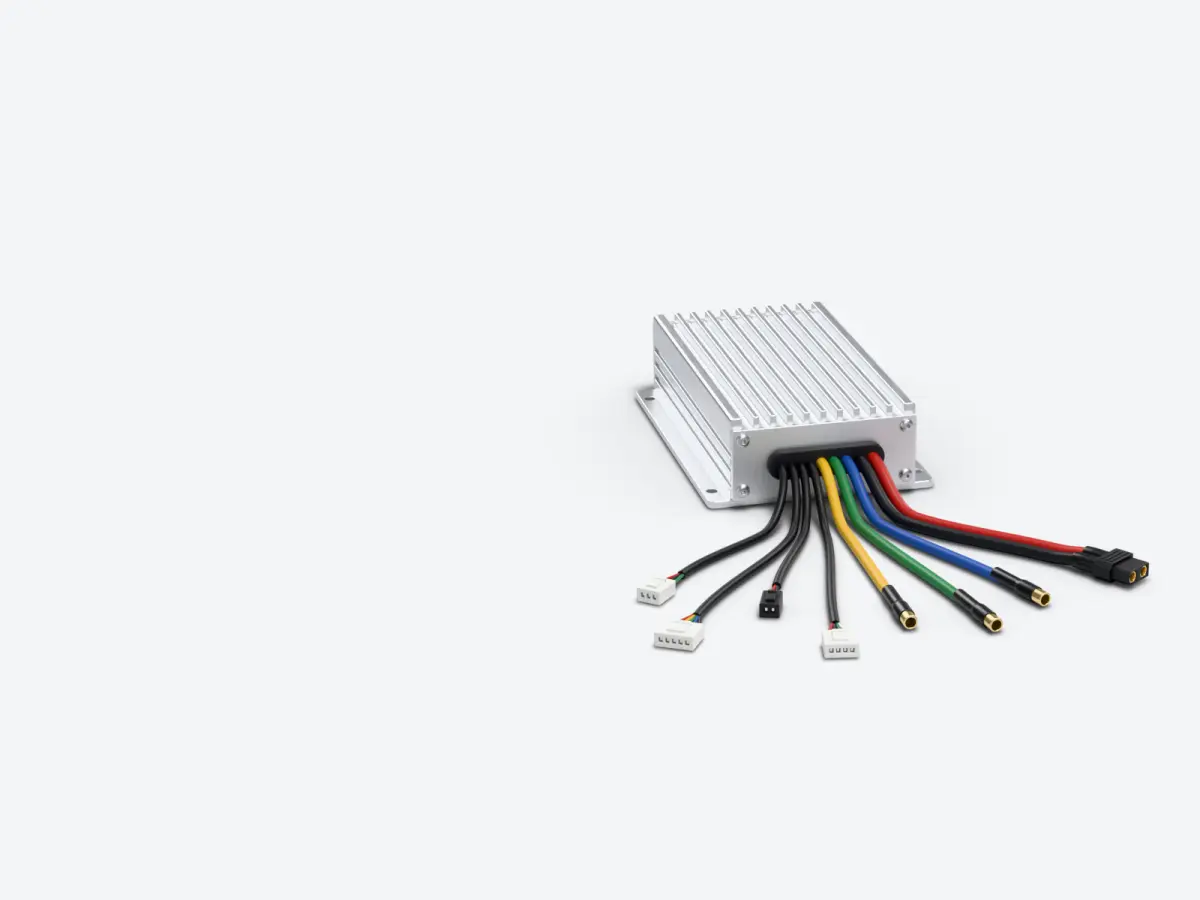
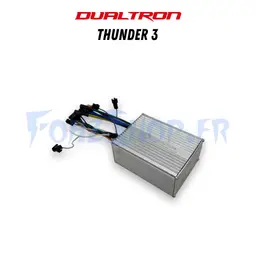
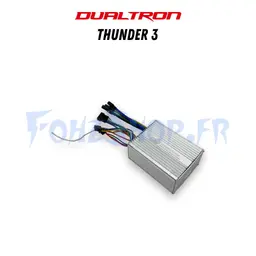
| Controller | “two-in-one brushless motor controller”, or “front motor controller (A)” and “rear motor controller (B)” | The block where almost all the cables arrive. A dual-motor scooter has either a dual controller, like the Victor or the Spider 2 (“double drive” on the Mini), or two controllers, A at the front and B at the rear, like the Thunder 3 or the X Limited. |
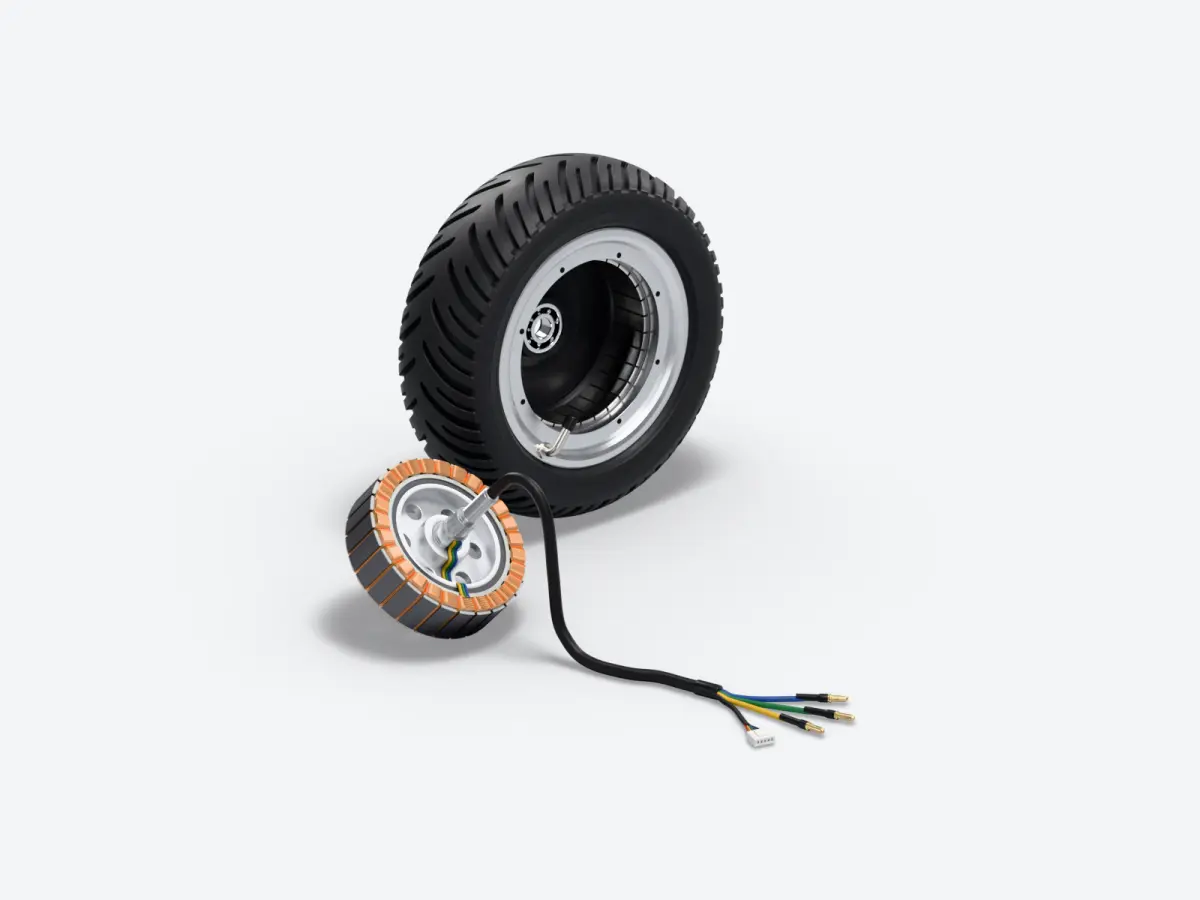
| Motor | “Front motor”, “Rear motor”, M symbol | A brushless motor in the wheel. Three thick phase wires come out of it, yellow, green and blue on the Mini, Thunder 3 and X Limited diagrams, each with its own plug. |
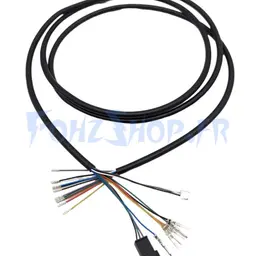
| Hall sensors | No label, a thin cable coming out of the motor | They give the controller the position of the rotor[3]. On the X Limited, it is a five-wire cable, black, blue, green, yellow and red, ending in a five-pin plug. |
| Display | “Square meter EY4”, 方形仪表EY4, or EY3, EY2 | The display, connected to the controller by a multi-wire cable. Our article on EY displays explains the differences. |
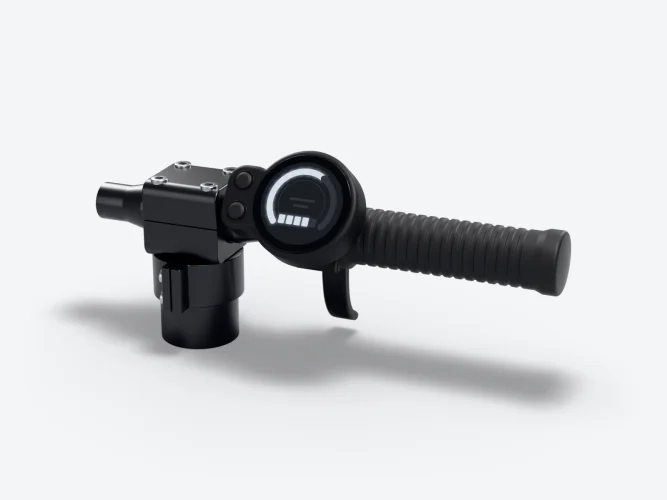
| Throttle | “Governor”, 调速器 | The trigger. The English word is a literal translation of the Chinese, meaning “speed regulator”. |
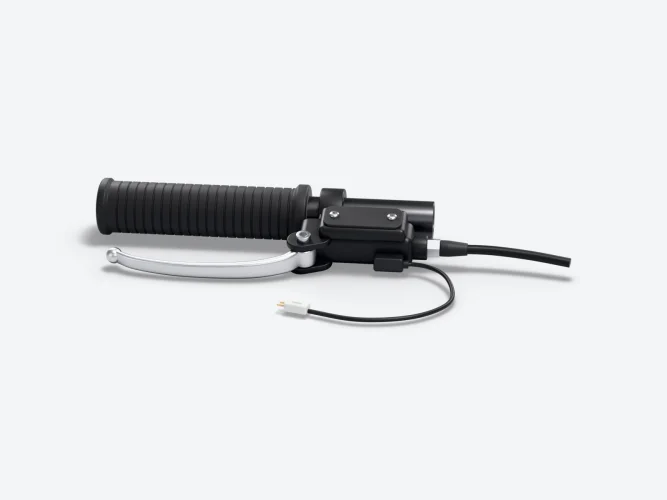
| Brake switches | “Left/right brake switch”, 左/右刹车断电开关 | One switch per lever. The Chinese name means “power cut-off switch for braking”. |
| Lighting | “Light control board”, 灯控板, and “DC-DC 12V5A” | The lighting board, supplied with 12 V by a DC-DC converter. On the Thunder 3, two 12 V, 5 A converters supply it. |
| LED strips | “RGB LED”, “WS2811” chip | Addressable LEDs with three wires, marked 12V, D and GND, or V+, DI and V-: power, data and ground. |
| Charging | “3-hole charging port”, 3孔充电口 | The three-hole charging socket. One on the Mini, two on the Thunder 3 (“2”), three on the X Limited (“3”). |
| Battery selector switch | “Internal/external power transfer switch” | It selects between the built-in battery, “Built-in battery”, and an external battery, as on the Thunder 3. |
| Speed limit socket | “speed limit interface”, 限速接口 | A socket designed to limit the model's speed. |

What the Hall sensors do
To turn a brushless motor, the controller has to power the right phases at the right moment, so it needs to know where the rotor magnet is. That is the job of the Hall sensors. Texas Instruments explains that three sensors, offset by 120 electrical degrees, give six states, and that each state tells the controller which phases to power[3]. The same note states that, without sensors, the controller cannot find the rotor position at low speed, and that high torque from a standstill requires sensors[3]. In our experience, a damaged sensor or wire in this cable often shows up as a motor that strains, judders when pulling away or will not start at all.
Brakes: a signal that cuts the motor
The brake switch does not brake, it sends a signal. Its Chinese name on the diagram says so, 刹车断电开关, the switch that cuts the power when braking. On the Thunder 3, the left and right switches join on a single cable. The signal also drives the brake light, and the lighting board has an output marked 刹车输出, “brake output”. A switch that stays engaged therefore cuts the throttle and can look like a throttle fault.
Battery, BMS and charging: the power circuit
Always start with the battery. It carries the model's voltage, and the thickest wires run from it to the controllers. On the Thunder 3, they go through the “Internal/external power transfer switch”, which selects between the built-in battery and an external battery.
The voltage written on the diagram is the nominal voltage. A full battery reads higher. According to our voltage table, a 52 V battery reaches 58.8 V when full, a 60 V battery 67.2 V and a 72 V battery 84 V. The same table gives the empty values and the true state of charge as a percentage.
The BMS is rarely drawn, because it is sealed inside the pack. Yet it is essential. Boards of this type monitor each cell and cut off the battery in the event of overvoltage, undervoltage, overcurrent, short circuit or overheating[4]. INRS, the French institute for occupational health and safety, lists it among the safety components of lithium-ion batteries[2]. In our experience, when a battery cuts out suddenly under load and then comes back after a while, it is often the BMS that has stepped in.
The charging socket is connected to the battery. On the Thunder 3, both sockets lead to the 72 V pack. The charger must therefore match the battery voltage exactly. INRS lists using an unsuitable charger among the causes of lithium-ion battery failure, along with overcharging and impacts[1]. For day-to-day charging, see our article on charging and looking after the battery.
Wire colours and their names in Chinese
On the original diagrams, each wire is drawn in its own colour. Often, the colour is also written next to the wire, in Chinese only. You can see this on the X Limited, City, New Storm and Ultra 2 Up diagrams. Here are the characters to recognise.
| On the diagram | Meaning |
|---|---|
| 红 | Red |
| 黑 | Black |
| 白 | White |
| 黄 | Yellow |
| 绿 | Green |
| 蓝 | Blue |
| 棕 | Brown |
| 紫 | Purple |
| 灰 | Grey |
| 橙 | Orange |
| 粉红 or 粉 | Pink |
| 透明 | Clear |
| 浅 before a colour | Light, for example 浅蓝, light blue |
| 深 before a colour | Dark, for example 深蓝, dark blue |
| 粗 before a colour | Thick wire, for example 粗红, thick red wire |
| 细 before a colour | Thin wire, for example 细黑, thin black wire |
| 黄黑 | Yellow and black, a two-colour wire |
A few patterns come up from one diagram to the next. A motor's three thick wires are drawn yellow, green and blue. On battery and charging cables, red is positive and black is negative. Addressable LED strips have three wires marked 12V, D and GND, or V+, DI and V-.
The connectors you will come across
The diagrams draw each plug with its two halves and number its pins. Some carry their reference, such as XT60 or XH. Here are the most common ones on Dualtron scooters.
| Connector | Where you see it | What you need to know |
|---|---|---|
| XT60 | On the thick red and black wires running to the Mini's controller. Also on the Mini Special, Aminia and Togo Limited diagrams. | Two-pin power plug. Amass, its manufacturer, rates it at 35 A with 12 AWG wire and 80 V DC maximum[5]. |
| Phase plugs | At the end of the three thick wires of each motor. | One plug per wire, all the same shape. Only the wire colour tells them apart, which is why the diagram matters. |
| XH and PH | On the Ultra 2 Up and New Storm controllers, marked XH_6P, XH_2P or PH2.0_2P. | Small board connectors for signals. Their manufacturer JST gives a 2.5 mm pitch and 3 A for the XH[6], a 2 mm pitch and 2 A for the PH[7]. The number before P gives the number of pins. |
| Waterproof plug | On lighting, control or sensor cables, for example on the Forever V3, the Victor Limited or the Sonic Alien. | Marked 防水公头 for the male half and 防水母头 for the female half, with markings such as M6-4 or M6-6. |
| Charging socket | “3-hole charging port” on the Mini, the Thunder 3 or the X Limited. | A round three-hole socket, connected to the battery. |
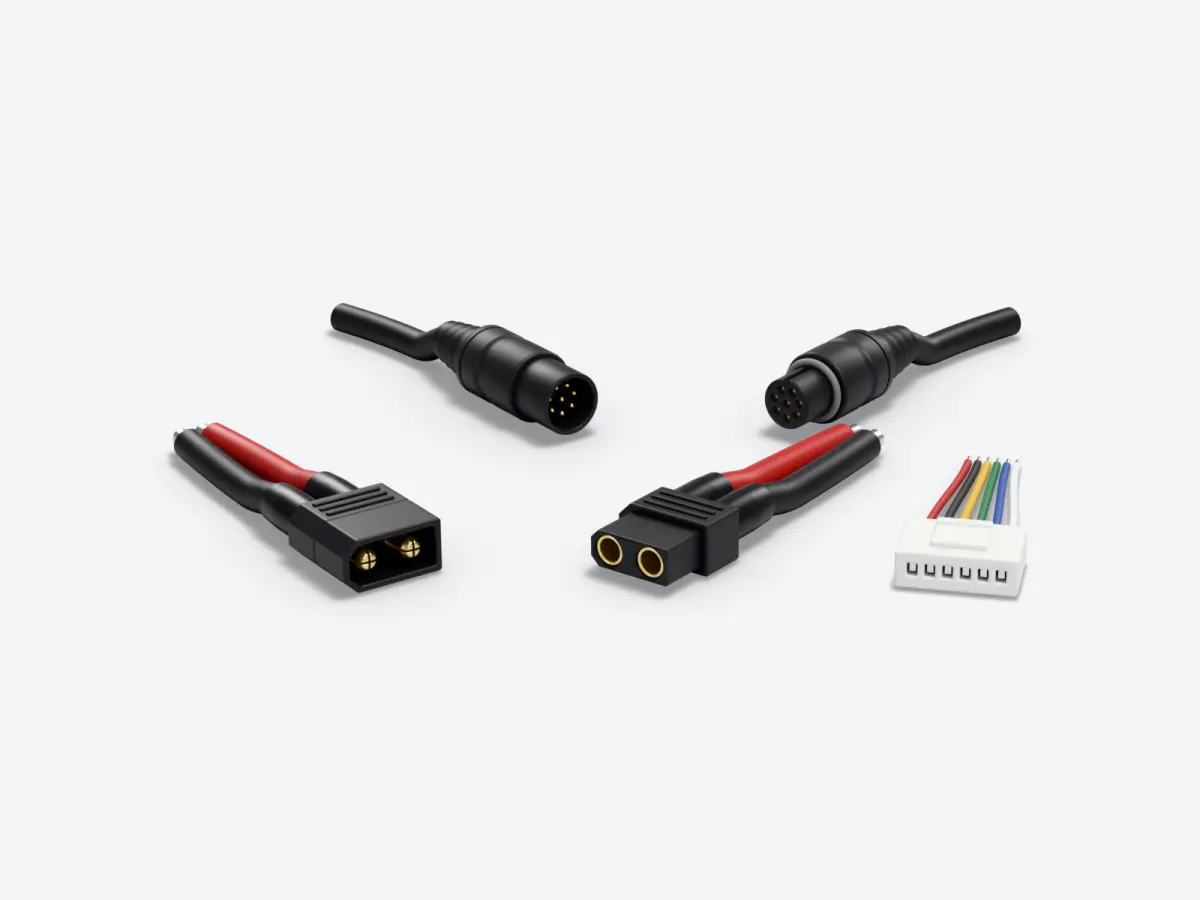
A power plug that has overheated or has a pin pushed back should be replaced with the same type. And a small signal plug has no place on a power cable. An XH is rated at 3 A[6], an XT60 at 35 A[5].
How do you use a diagram to diagnose a fault?
The diagram does not replace tools or experience, but it tells you where to look, from the symptom to the plug at fault.
- Note the exact symptom. Nothing lights up, the motor judders, a light stays off…
- Open the original diagram for your model and your version.
- Follow the current from the battery to the faulty component, and list the plugs along the way.
- Switch off, disconnect the battery, then inspect each plug along the path. A pushed-back pin, signs of heat, a pinched wire or corrosion are often visible to the naked eye.
- With a multimeter in continuity mode, check that a wire or a switch conducts properly, always with the circuit de-energised.
- If the trail leads to the battery, the controller or a power cable, stop there and leave the rest to a repairer.
In its automotive guide, Fluke, a maker of measuring instruments, reminds you to disconnect the battery or isolate the circuit before any continuity test, because testing a live circuit in this mode can damage the meter[8]. The multimeter beeps when the path is complete. No beep and “OL” on the screen indicate a break, corrosion or a bad connection[8]. For a fault that comes and goes, Fluke advises gently moving the wires during the test to reproduce vibration[8].
| What you notice | Where to look on the diagram |
|---|---|
| Nothing lights up | The battery and its selector switch if there is one, the power switch, the display cable. |
| The motor judders or strains when pulling away | The three phases of that motor and its Hall sensor cable. |
| Only one motor responds on a dual-motor scooter | That motor's controller, A or B, its three phases and its Hall sensors. |
| The display lights up but the scooter does not move | The throttle, “Governor”, and the two brake switches. |
| A light or LED strip stays off | Its output on the lighting board, its plug, then the DC-DC converter. |
| The battery does not charge | The charging socket, its cable to the battery, and the charger itself. |
Safety: the battery is unforgiving
A scooter battery is nothing like an ordinary battery cell. According to INRS, a single lithium-ion cell can deliver more than 100 A in a short circuit, multiplied by the number of branches in parallel. The consequences listed are electric arcing, high temperatures, spatter of molten material, burns and fire[2]. INRS also warns of a risk of electric shock above 60 V DC[2]. Yet most of the Dualtron models on our page run at 60, 72 or 84 V, and a full battery exceeds its nominal voltage.
The most serious danger is thermal runaway. INRS describes it as “a fast and violent fire” and recommends avoiding impacts, protecting the terminals against short circuits and using suitable chargers[1]. In the event of a battery fire, it considers intervening, in particular with an extinguisher, “often dangerous” and generally advises against it. The priority is to get people out[1].
- Never work with the battery connected. Switch off, disconnect the battery, and only then undo the plugs.
- Never connect positive and negative. A screwdriver resting across two terminals is enough.
- Never open the battery pack and do not touch the BMS.
- Never swap two plugs just because they are the same shape. Check on the diagram.
- Stop charging immediately if a battery is swollen or gives off a suspicious smell, as INRS advises[2]. Never charge with a charger of a different voltage.
In practice: your first diagram
- Note down the full name of your scooter and its year.
- Open the Wiring diagrams page, choose the brand and then your exact model.
- Check the date in the title block, at the bottom right of the diagram.
- Find the battery and its voltage, then the controllers and the motors.
- Keep the two tables in this article to hand, the one for labels and the one for colours in Chinese.
- Save the PDF to your phone. You can zoom in like a plan, for diagnosis and for the repairer.
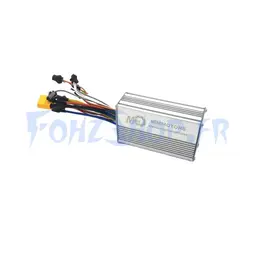
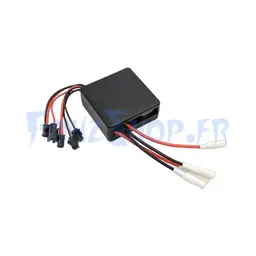
If the diagram leads you to a part that needs replacing, you will find our controllers in the spare parts section. Check that the model and voltage on the product page match your scooter.
Sources
- INRS, News, updated on 8 April 2026, accessed on 17 November 2026, Batterie lithium-ion : comprendre les risques pour mieux les prévenir
- INRS, 2019 Electrical Risks technical day, presentation by Nicolas Guillet, accessed on 17 November 2026, Les risques liés aux batteries Li-ion
- Texas Instruments, Application note SLVAEG3B, revised November 2022, accessed on 17 November 2026, Brushless DC Motor Commutation Using Hall-Effect Sensors
- Texas Instruments, Reference design TIDA-010216, accessed on 17 November 2026, 16s Li-ion and LiFePO4 battery pack reference design
- Amass, Product page, accessed on 17 November 2026, AMASS XT60-M
- JST, Catalogue, XH series data sheet, accessed on 17 November 2026, XH Connector, 2.5 mm pitch, wire-to-board connectors
- JST, Catalogue, PH series data sheet, accessed on 17 November 2026, PH Connector, 2.0 mm pitch, wire-to-board connectors
- Fluke, Blog, accessed on 17 November 2026, How to Perform Automotive Continuity Checks with a Multimeter
About the author

Benjamin Gayaud
Managing director of FōhzShop
He runs FōhzShop and develops EyeX, the app for Dualtron and Rovoron scooters. He personally tests the electric scooters the shop sells.
Read next
Technical10 min read
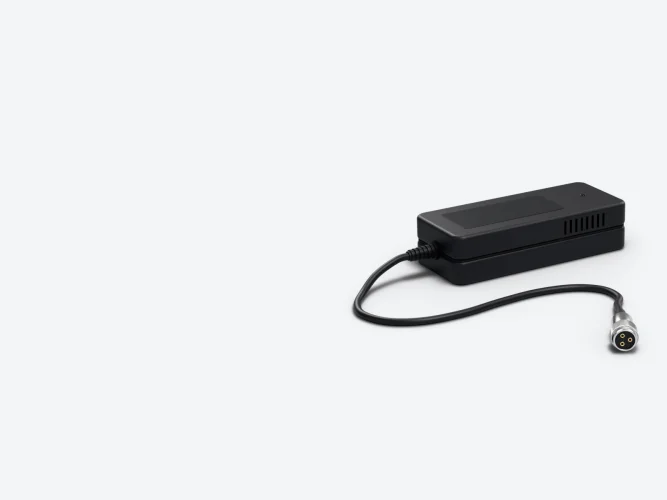
Electric scooter charger: voltage, amps, fast charging and connectors
A charger's output voltage must be exactly the one intended for your battery, its current sets the charging time and its plug must match your charging port. Here is how to read the label, work out the charging time and spot a faulty charger.
Technical11 min read
Electric scooter controller: what it does, faults and replacement
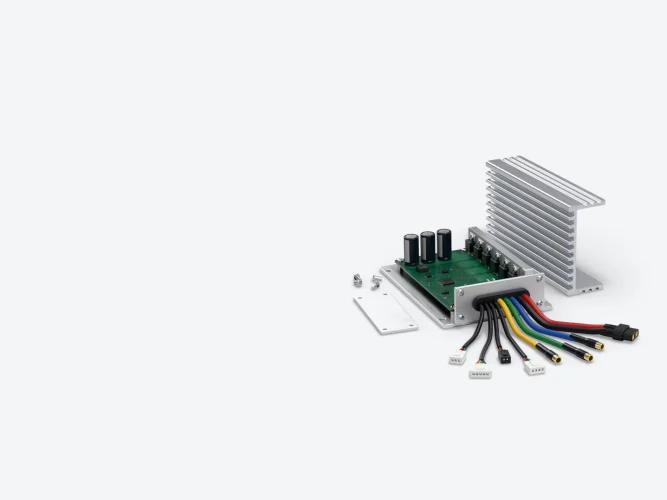
The controller reads the throttle, the brakes and the motor sensors, then powers the motor over three phases. What it does, how to read its voltage and amperage, how to recognise a real fault and how to replace it without ordering the wrong part.
Technical14 min read
Electric scooter error codes: what they mean and how to fix them
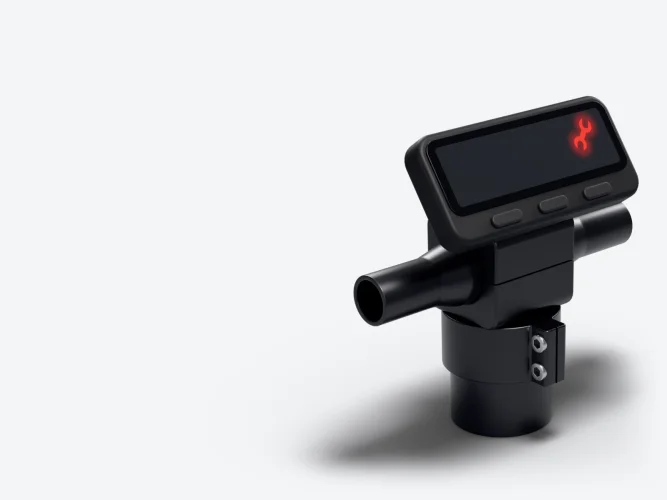
E1, 80, 102, a red spanner or a thermometer: what each code shown on Dualtron, Rovoron, Odyssr, Teverun, Nami and InMotion displays means, according to their official manuals, with the part to check and what to do.