Electric scooter brakes: pads, discs, adjustment and bleeding
Drum, cable disc, hydraulic or motor brake, pad and disc wear, bedding in, adjustment, fluid and bleeding step by step: the workshop guide to keeping your brakes safe, based on the manufacturers' manuals.

Benjamin Gayaud
13 min read
Maintenance
New pads? Bed them in over 30 to 40 stops.
The essentials
You check a scooter brake in three moves: squeeze the lever, look at the pads, spin the wheel. The wear limits for pads and discs are those set by the caliper manufacturer, in its manual. After a replacement, the brake only regains its full power once it has bedded in. And on a hydraulic brake, use only the fluid specified by the brake manufacturer.
2.2 mm
minimum thickness for a Tektro pad, metal backing plate included
30 to 40
bedding-in stops after fitting new pads, according to Tektro and TRP
1.5 mm
the thickness at which a disc that was 1.8 mm new must be replaced, according to Tektro
55 °C
battery temperature above which the Rovoron R7's motor brake stops working
- The wear limit of a pad or disc depends on the caliper manufacturer. You will find it in its manual.
- After replacing pads or a disc, braking stays weaker until bedding in is done.
- On a hydraulic brake, use only the fluid specified by the brake manufacturer. Mineral oil and DOT fluid must never be mixed.
- A lever that touches the handlebar, a leak or a metal-on-metal noise all mean one thing: no more riding until it is repaired.
What types of brakes does an electric scooter have?
A scooter almost always combines a mechanical brake with the motor brake. The Rovoron R7 is a good example: Minimotors fits it with cable disc brakes, the R7 Pro with NUTT hydraulic brakes, and both have ABS and EBS electric braking[1]. The Dualtron Thunder 3 has two-piston NUTT hydraulic brakes and 160 mm discs[2].
| Brake type | How it brakes | What it needs |
|---|---|---|
| Drum | Shoes rub inside the hub, sheltered from water and dust. France's national consumer institute (INC) describes it as controlled, effective braking[7]. | A cable to re-tension from time to time. |
| Mechanical cable disc | The lever pulls a cable that pushes the pads against the disc. | The cable slackens and the pads wear. It needs regular adjustment[4]. |
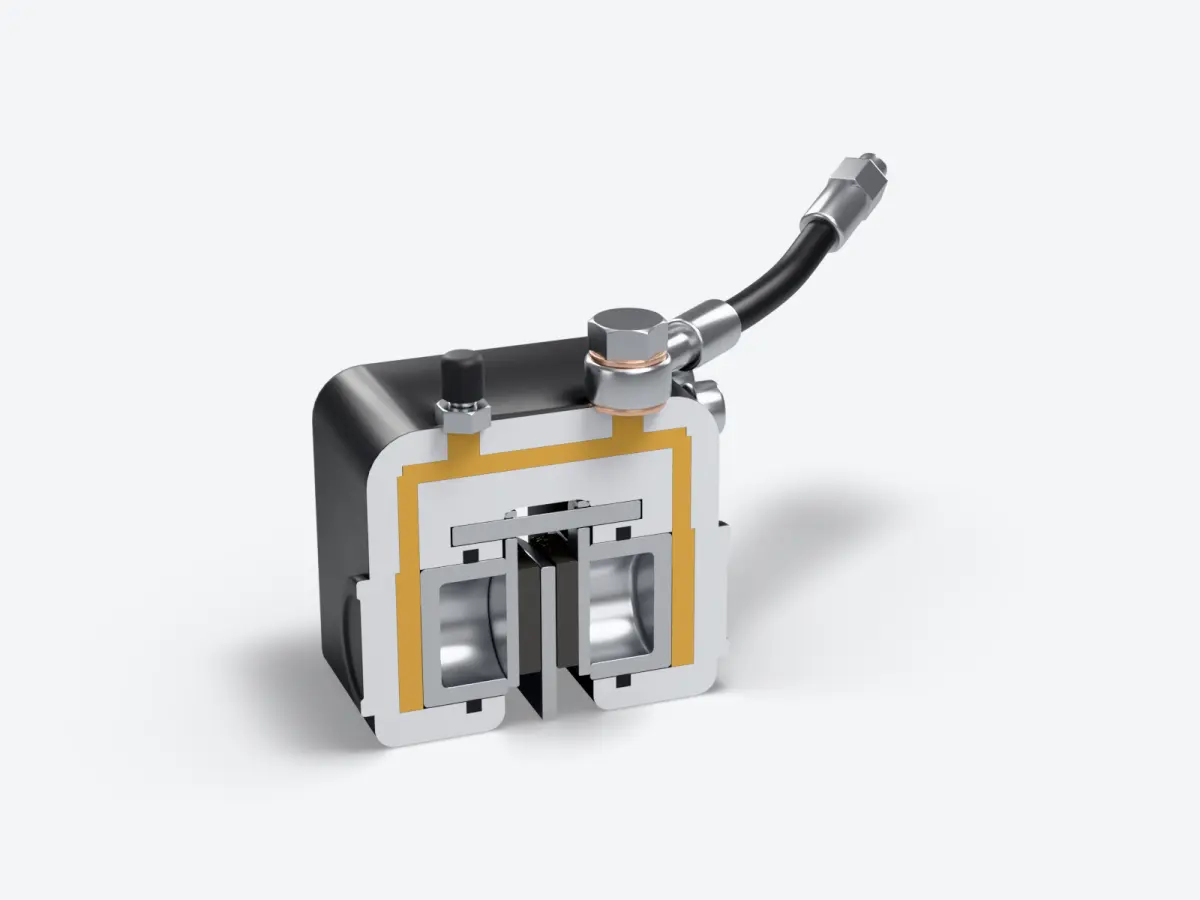
| Hydraulic disc | The lever pushes fluid that drives the caliper pistons out. TRP says it performs significantly better than a cable brake[5]. | The right fluid, a bleed whenever air has got into the system[3], clean pads. |
| Motor or regenerative brake | The motor slows the wheel. Xiaomi calls it KERS, and it kicks in when you release the throttle[6]. | Nothing to wear out. It does not replace a mechanical brake[7]. |
On spec sheets, motor braking goes by several names: electric brake, electronic brake, E-ABS, EBS, KERS, regenerative. These terms almost always describe the same principle, a motor that brakes the wheel. On the Rovoron R7, its strength is set in display parameter P3, from 0, no motor brake, to 5, the strongest. ABS is switched on in parameter P4 and is off by default[1]. The P settings are explained in our article on EY displays.
How can you tell if the pads or the disc are worn?
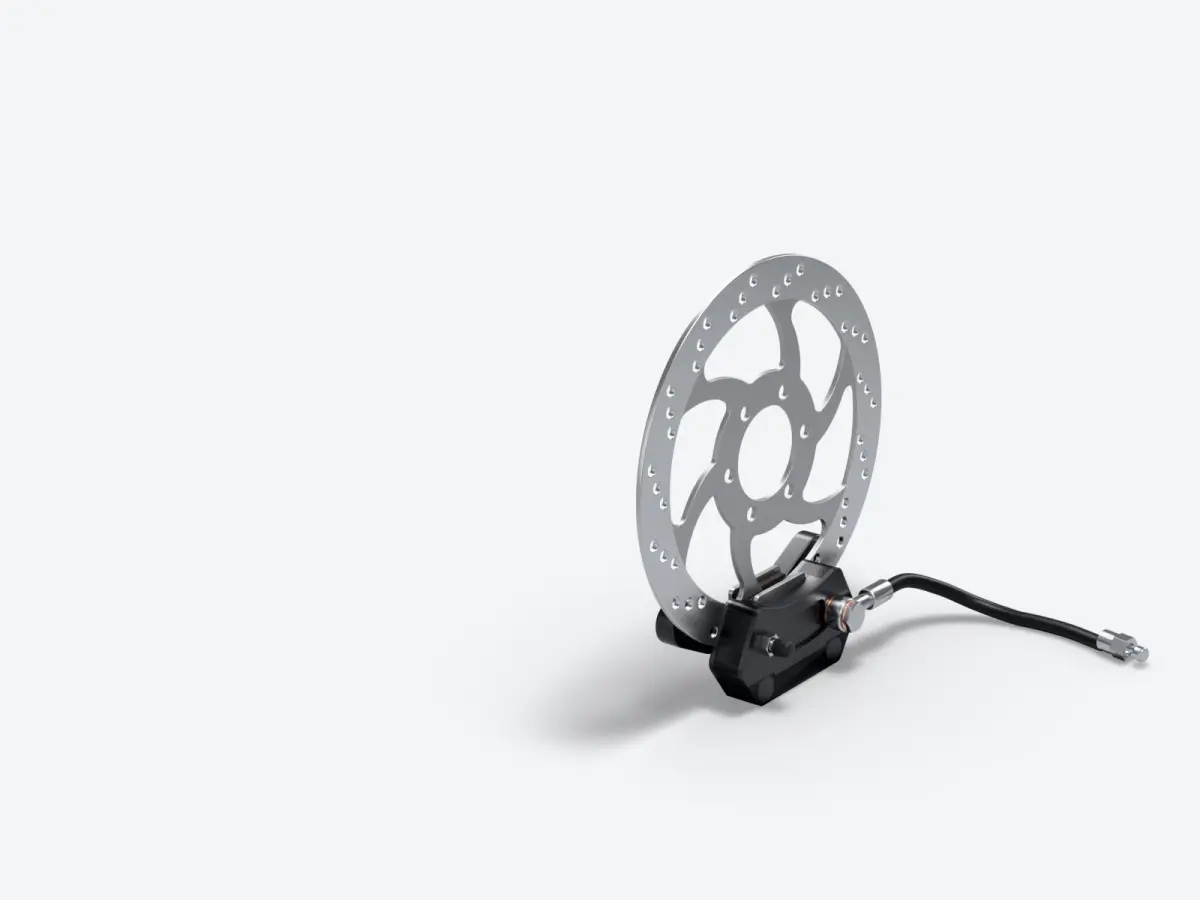
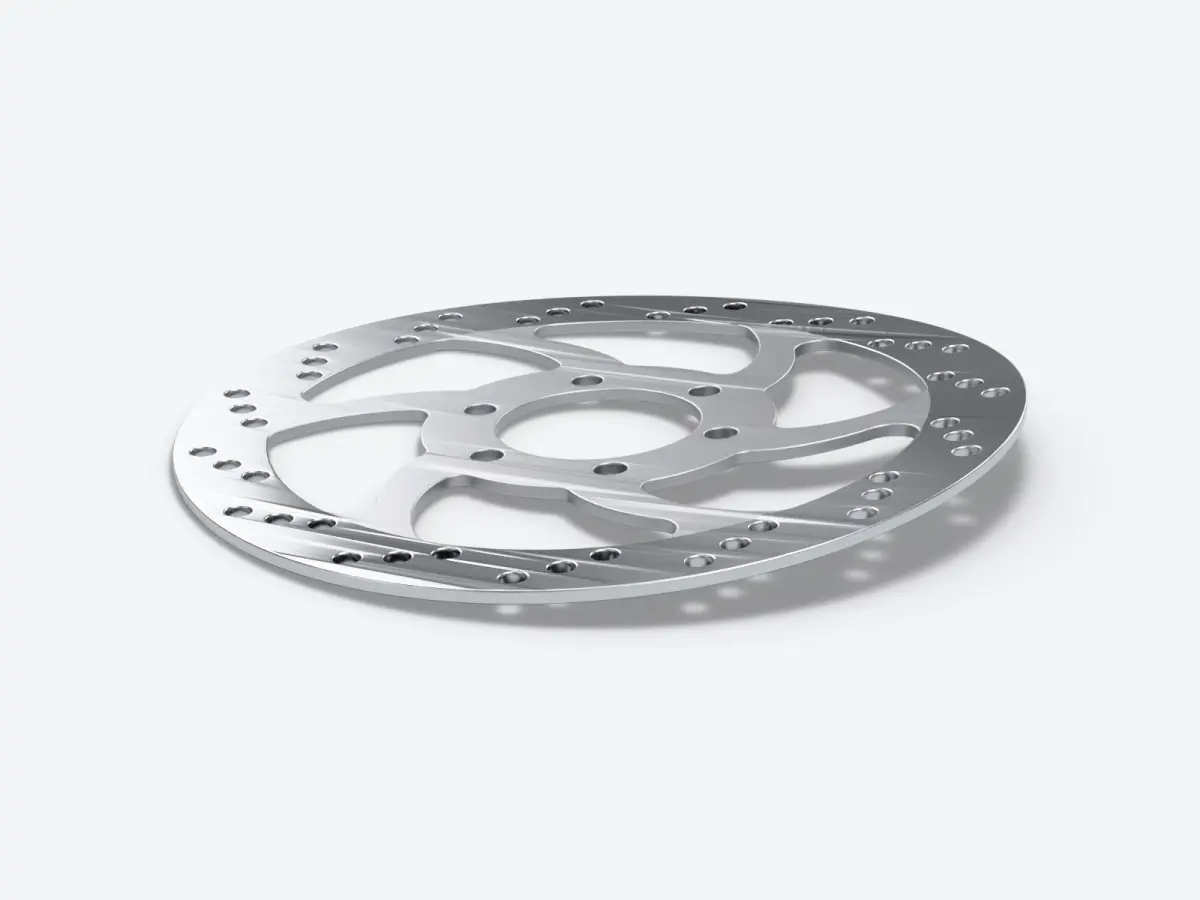
With the wheel stopped, take a torch and look into the caliper through its opening. Each pad is made of a metal backing plate and a darker layer bonded to it, the friction material. That is the part that wears. The thinner it gets, the further the lever travels before it brakes, and the less reserve the brake has.
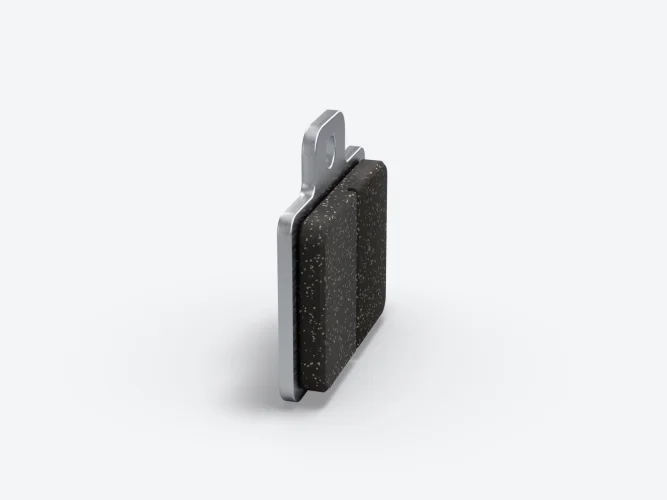
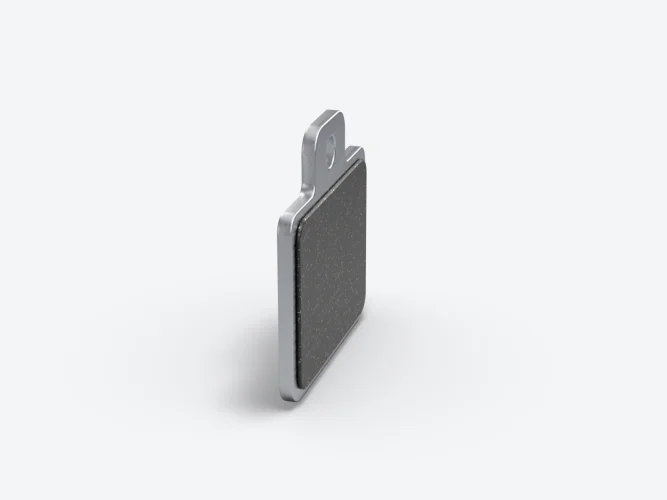
Each caliper manufacturer sets its own limit, and measures it in its own way. Tektro includes the metal backing plate in the thickness, TRP counts only the friction material.
| Manual | Replace the pad | Replace the disc |
|---|---|---|
| Tektro, hydraulic disc brake | Below 2.2 mm, metal backing plate included[3] | At 1.9 mm for a disc 2.3 mm new, at 1.5 mm for a disc 1.8 mm new[3] |
| Tektro, mechanical disc brake | Below 2.2 mm[4] | Damaged disc or one that does not run true, to be checked before every ride[4] |
| TRP Slate, hydraulic brake | Less than 0.8 mm of friction material per pad[5] | A bent disc must be replaced[5] |
If your caliper has no public manual, do not go all the way down to the last limit. In our experience, at around 1 mm of friction material left, it is time to order pads. A disc's minimum thickness is sometimes engraved on it. Measure it with a vernier, on the braking track and not on the edge.
The tell-tale signs
- A metal-on-metal noise. The friction material has gone and the metal plate is rubbing on the disc. Minimotors says to stop riding immediately and fit new pads when the lever feels spongy and the disc makes an abnormal noise[1]. Check the disc as well, as it gets damaged quickly in this situation.
- Deep grooves on the disc, or a surface turned blue by heat. Measure the disc and replace it if it is below its minimum thickness.
- A warped, cracked or bent disc. TRP says a bent disc must be replaced[5]. A cracked disc must also be changed straight away.
- Smooth, shiny pads. This is a sign of pads glazed by severe heat: braking weakens and the brake squeals. The safest option is to replace them and clean the disc.
Why is my scooter not braking as well?
Three causes come up almost every time: a contaminated disc or pads, a brake that has overheated, or air in a hydraulic system. On the first, Tektro is clear. Pads and discs must be kept clean, free of oil, lubricant, brake fluid and solvents, and if they have been contaminated, they must be thrown away and replaced[3].
- Never spray lubricant, penetrating oil or polish near the wheels, even when cleaning the rest of the scooter.
- To clean a disc, follow the brake manual. TRP cleans it with isopropyl alcohol and rules out disc brake cleaner[5].
- Do not touch the caliper or the disc just after riding. Minimotors and TRP warn that they get very hot[1][5].
On a long descent, avoid holding the brake on without releasing it. The fluid in a hydraulic brake must not boil, otherwise vapour bubbles form and braking power drops, Hella explains[8]. Brake in intervals, let the motor brake do some of the work and take a break if the lever feels less firm. In the rain, brake earlier and more gently: the right habits are in our article on riding in the rain.
How do you bed in new pads or a new disc?
New pads or a new disc do not brake at full power straight away. Tektro and TRP count 30 to 40 stops before the pads seat properly on the disc, and ask for caution during those first stops, every time the pads are replaced[4][5].
- Pick a flat, open and safe spot, away from traffic.
- Bed in one brake at a time, so you can feel what each one does.
- Set off at a moderate speed, around 20 km/h, and brake progressively to a stop, without locking the wheel.
- Repeat 30 to 40 times per brake, as Tektro and TRP specify[4][5].
- If the disc gets very hot, take a break between two sets.
How do you adjust a cable disc brake?
Over time, the cable slackens and the pads wear. The lever then travels further and further before it brakes. Tektro points out that a new cable also stretches after fitting, and that it then needs re-tensioning[4]. Adjustment is done in three places.
- The barrel adjuster on the lever. Unscrewing it takes up cable slack or pad wear[4]. This is the fine adjustment, to do first.
- The cable clamp bolt on the caliper. When the barrel adjuster has run out of thread, loosen this bolt, pull the cable gently to take up the slack, then tighten again. Xiaomi describes this adjustment in the manual for one of its scooters, with a 4 mm Allen key[6].
- The fixed pad adjustment screw. On many cable calipers, a screw on the inboard side moves the pad closer to the disc. Tektro turns it clockwise to compensate for pad wear[4].
After each adjustment, lift the wheel and spin it by hand. It must turn freely, without rubbing. Pull the lever about ten times, then check that the caliper arm returns fully. If it does not, the cable or the outer cable has too much friction[4]. A frayed or rusty cable, or a damaged outer cable, must be replaced.
Centring the caliper on the disc
If a pad rubs constantly, for example after removing a wheel, the caliper is no longer centred. Minimotors gives the method in the Rovoron R7 manual. With the caliper bolts slightly loosened, squeeze the lever five to eight times so the caliper settles on the disc. Tighten its bolts to 8.5 N·m, plus or minus 0.5, then release and spin the wheel. If the pads still touch, loosen the bolts and start again[1].
Hydraulic brakes: which fluid, and when should you bleed them?
A hydraulic brake works with a specific fluid, chosen by the brake manufacturer. There are two main families, and they are not compatible.
Mineral oil
It is the fluid used in Tektro and TRP brakes. For the hydraulic brakes on the Rovoron R7, Minimotors specifies a mineral oil, BK407. TRP points out that it absorbs less water than DOT fluids.
Never mix them
TRP warns that other fluids, especially DOT, damage its system.
DOT fluid
Polyglycol-based, it absorbs moisture. Its boiling point then drops.
Where to find the right fluid
On the lever reservoir, the caliper or in the brake manual.
On a scooter, the fluid therefore depends on the caliper, whether it is a NUTT, a Zoom or another make, and not on the scooter brand. Do not go by the colour of the fluid or by what your old brake used. The caliper manufacturer has the final word, and if in doubt, ask before opening the system.
When should you bleed?
- The lever goes soft or spongy. This is usually air in the system, and a fresh bleed gives firmer braking[3][5].
- You have shortened, replaced or disconnected a hose. Tektro says to bleed every time the system has been opened to the air[3].
- After a leak has been repaired. Tektro and TRP say to stop riding as soon as a brake leaks[3][5]. If fluid has reached the pads, change them.
- Braking has weakened for no other reason. Minimotors then advises having the fluid replaced by the after-sales service or an authorised dealer[1]. None of the manufacturers consulted sets a schedule for mineral oil. In our experience, on a scooter ridden all year round, a bleed about once a year avoids nasty surprises.
What does a bleed involve?
Each brand has its own kit and method. Here are the main steps from the Tektro manual, so you know what to expect[3].
- Position the lever parallel to the ground.
- Remove the pads so they do not get contaminated, push the pistons back and slide the bleed block in their place, which stops the pistons moving.
- Fill the syringe halfway with mineral oil, tap out the bubbles, then screw it into the caliper bleed port.
- At the lever, remove the reservoir plug and attach a tube that runs down into an empty bag.
- Slowly push the oil up from the caliper until no more bubbles come out into the tube.
- Close the reservoir, at 0.8 to 1.2 N·m for Tektro, then the caliper. Wipe clean, refit the pads and test the brake while stationary.
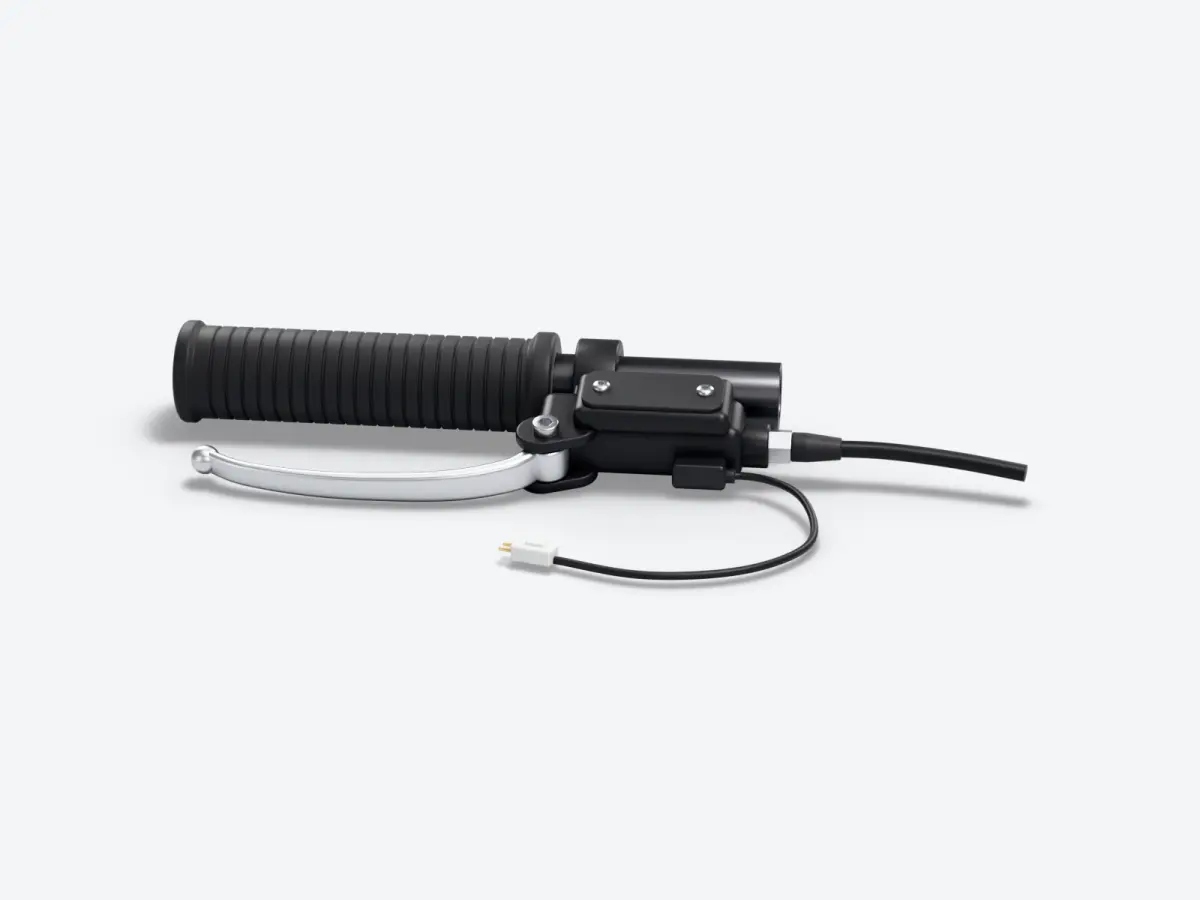
One simple precaution saves a lot of bleeds. With the wheel removed, do not squeeze the lever: with no disc to stop them, the pistons come out too far. TRP uses a spacer or an equivalent tool to keep the pistons from moving[5]. Do the same every time the wheel is out: with a spacer between the pads, the pistons cannot come out.
Brake squealing, rubbing or vibrating: where is the noise coming from?
A noisy brake is not necessarily worn. Here are the most common symptoms.
| What you notice | Likely cause | What to do |
|---|---|---|
| Squeaking after rain or a wash | Moisture or dust on the disc. | A few stops on dry ground are usually enough. |
| Squealing and weak braking | Contaminated disc or pads, or glazed pads. | New pads. Disc cleaned or replaced, according to the brake manual[3][5]. |
| Rubbing on every turn of the wheel | Caliper off-centre, pistons out too far or a bent disc[5]. | Re-centre the caliper, push the pistons back. A bent disc must be replaced[5]. |
| Metal-on-metal noise | Pads worn down to the plate. | Stop riding. New pads, disc checked[1]. |
| Vibration or judder when braking | Warped disc, or electronic ABS switched on in the settings. | Check the disc, then try with ABS switched off in the settings. |
| The scooter no longer accelerates or feels held back | A lever is not returning fully and its sensor cuts the motor. | Check that the lever returns fully, then check the brake sensor. |
This last case often catches people out. Each brake lever has a small sensor that cuts the motor as soon as you brake. A lever bent in a fall, a sticking cable or a badly adjusted sensor can therefore look like a motor fault. It is one of the first things to check when a scooter refuses to accelerate.
Your brake maintenance routine
Minimotors gives a schedule in the Rovoron R7 manual: a pad check every three months, then brake adjustment, a disc check and tightening its bolts to 8.5 N·m every six months or every 500 km[1]. In between, these steps are enough.
- Before every ride, squeeze both levers while stationary. They must feel firm and stop well short of the grip.
- Every week if you ride often, spin each wheel. It must turn freely, without rubbing or wobbling.
- Once a month, check the pad thickness with a torch and the condition of the discs. Tektro even advises checking the pads before every ride[4].
- On a cable brake, take up the slack with the barrel adjuster as soon as the lever travel gets longer.
- On a hydraulic brake, look out for leaks at the lever, along the hose and at the caliper.
- After a fall, check the lever, caliper, disc and hose before setting off again, as TRP asks[5].
- After any change of pads or disc, bed them in, then test the brakes at low speed.
What the law in your country requires for braking is explained on our regulations page. On the technical side, the European standard EN 17128, which sets the safety requirements and test methods for personal light electric vehicles, has a section on braking devices[9].
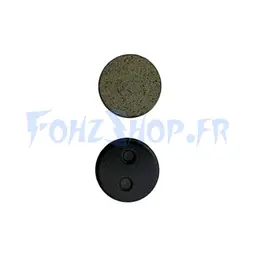
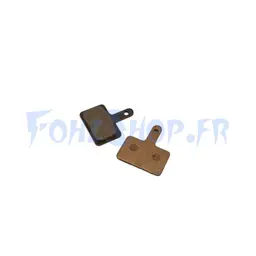
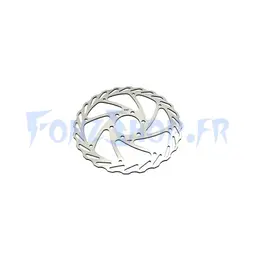
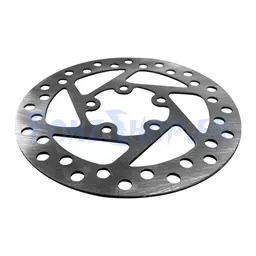
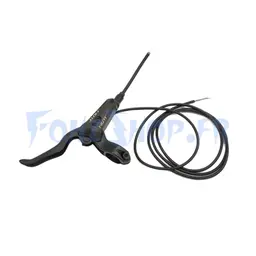
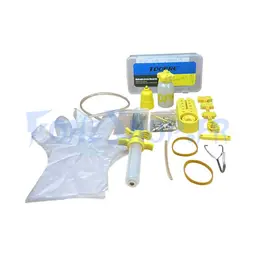
To find the right part, note the make and model of your caliper as well as those of your scooter. Pads, discs, levers and calipers are in the braking category of our spare parts. Here are a few common parts.
Sources
- Minimotors, English-language manual for the Rovoron R7 and R7 Pro, specifications, P settings and maintenance, accessed 17 November 2026, R7 Product Manual
- Minimotors, English-language manual for the Dualtron Thunder 3, specifications, accessed 17 November 2026, Thunder Product Manual
- Tektro, Manual C0900485, edition of 27 December 2023, published on TRP's technical documents page, Hydraulic Disc Brake System, Installation Instruction
- Tektro, Installation instructions, edition of 31 December 2025, Mechanical Flat Mount Disc Brake, Installation Instruction
- TRP (groupe Tektro), Owner's manual, February 2015, Slate Hydraulic Disc Brake System
- Xiaomi, User manual in French, Mi Electric Scooter Pro
- Institut national de la consommation, Published on 18 November 2017, Comment fonctionnent une trottinette et une monoroue électrique ?
- Hella, Technical information, Liquide de frein
- DIN, Table of contents of standard DIN EN 17128:2021-01, part 15.4, Light motorized vehicles for the transportation of persons and goods and related facilities and not subject to type-approval for on-road use, Personal light electric vehicles (PLEV), Requirements and test methods
About the author

Benjamin Gayaud
Managing director of FōhzShop
He runs FōhzShop and develops EyeX, the app for Dualtron and Rovoron scooters. He personally tests the electric scooters the shop sells.
Read next
Maintenance9 min read
Electric scooter tyre pressure: the chart by wheel size and by model
The tyre pressure for every scooter in our catalogue, taken from the manufacturer's manual, in psi and bar, sorted by wheel size. Plus the effect of weight and cold, how to read the sidewall and a routine for checking.
Maintenance10 min read
Electric scooter punctures: repair, prevention, tubeless or inner tube
How to tell which tyre you have, plug a tubeless tyre, change an inner tube without damaging the motor wheel, what preventive sealant is really worth, and when the tyre must be replaced rather than repaired.
Maintenance10 min read
Stem wobble or steering play on an electric scooter: causes and fixes
Handlebars that clunk under braking or a stem that moves: the play comes from one of five places. Here is the test to do with the scooter standing still, what can be tightened, what needs replacing, and the torque settings given in the manuals.