Electric scooter punctures: repair, prevention, tubeless or inner tube
How to tell which tyre you have, plug a tubeless tyre, change an inner tube without damaging the motor wheel, what preventive sealant is really worth, and when the tyre must be replaced rather than repaired.

Benjamin Gayaud
10 min read
Maintenance
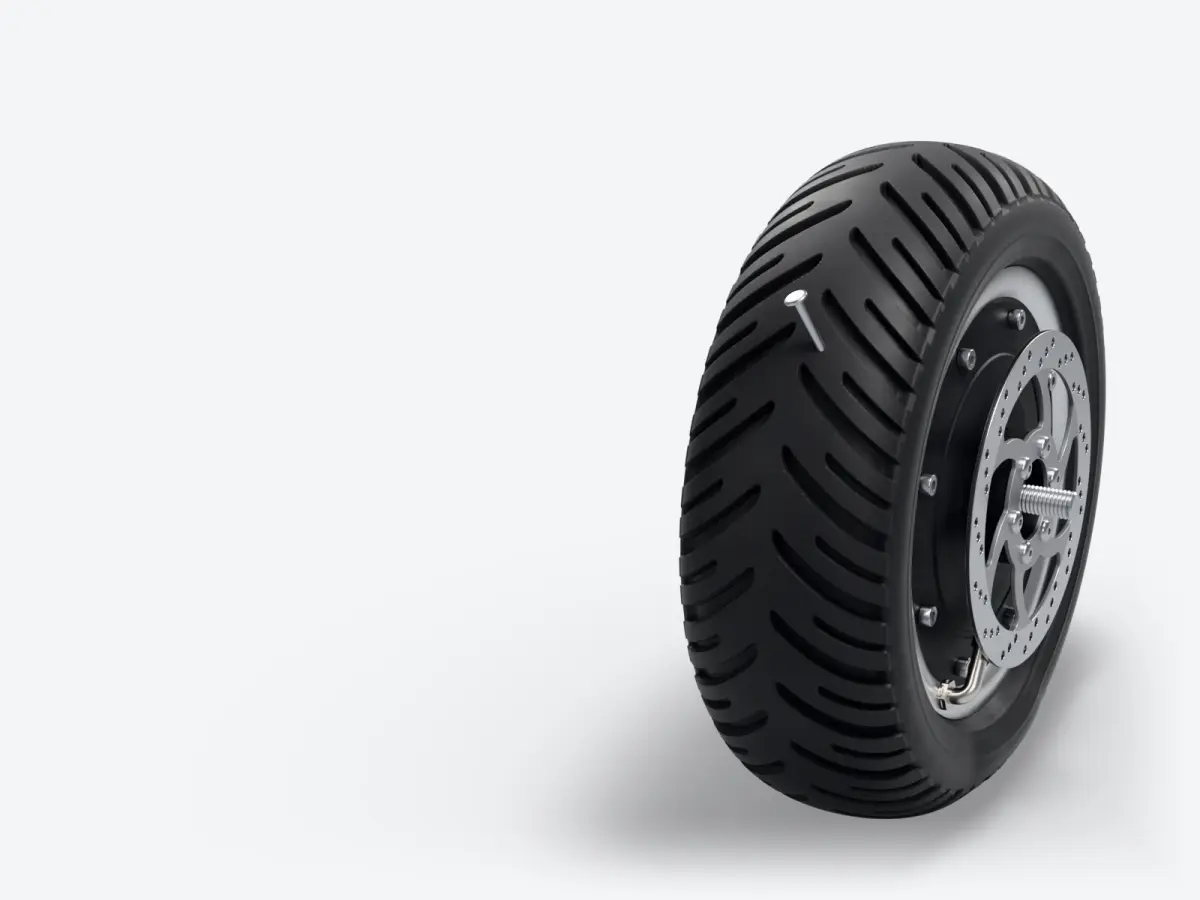
Punctured tubeless? A plug gets you home, a mushroom patch repairs it.
The essentials
On a tubeless tyre, a small hole in the tread can often be sealed with a plug, fitted from the outside without removing the wheel. It is a roadside fix: Michelin advises against a plug as a permanent repair, because nobody has looked at the inside of the tyre[1]. On a tyre with an inner tube, you change the tube. A hole in the shoulder, a large cut or a tyre damaged by riding flat cannot be repaired: the tyre must be changed[1].
2 to 7 months
of protection from a preventive sealant, according to Schwalbe
0
repairs possible in the shoulder of a tyre, according to Michelin
2,000 km
or so before the sealant needs renewing
- The sidewall tells you which tyre you have: ‘Tubeless’ or ‘Tube type’.
- Do not ride on a flat: the tyre gets damaged from the inside and becomes unrepairable.
- Tubeless: a plug to get home, then a check with the tyre off the rim.
- Inner tube: change the tube, and find what caused the puncture before refitting.
- Preventive sealant plugs small holes, not cuts. It dries out over time.
- The first protection is still the right pressure: the figures for each model are in our tyre pressure chart.
Inner tube, tubeless or solid: which tyre do you have?
There are three set-ups. With an inner tube, the tube holds the air and the tyre protects it. A tubeless tyre holds the air on its own, sealed tight against the rim. A solid tyre has no air at all. The repair depends entirely on the set-up, so start by identifying yours.
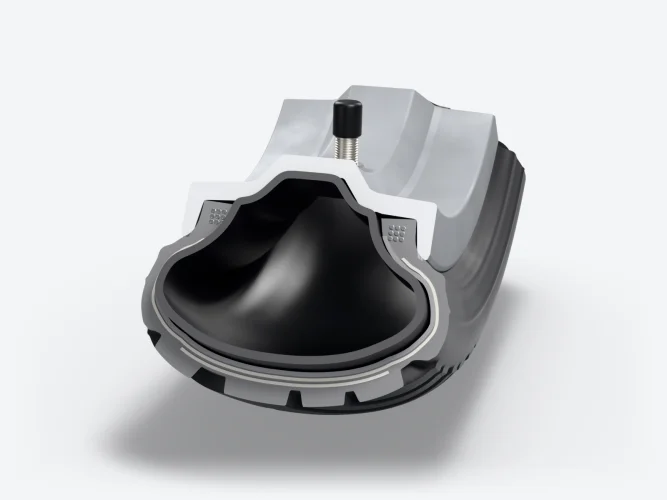
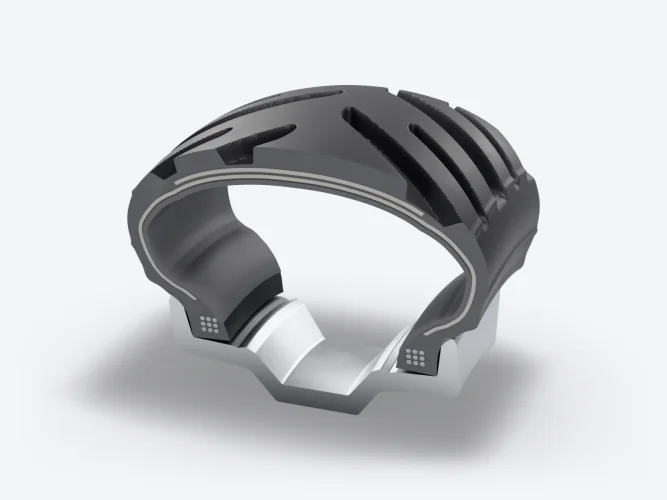
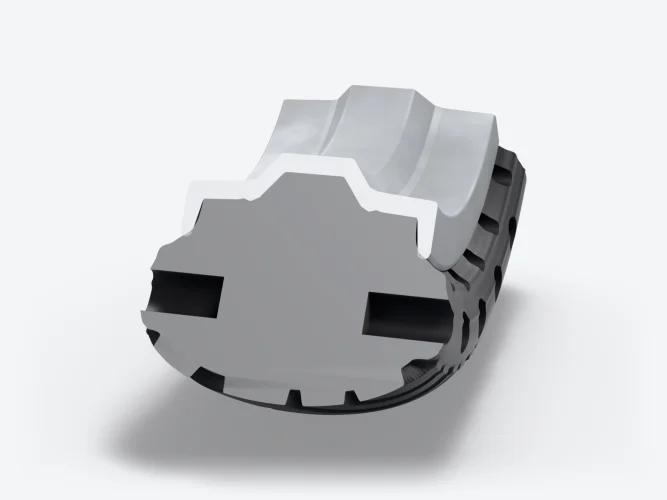
| What you look at | Inner tube | Tubeless | Solid |
|---|---|---|---|
| The tyre sidewall | Marked ‘Tube type’[2] | Marked ‘Tubeless’[2] | No valve, no air |
| The valve | It comes out of the tube and passes through a hole in the rim | It is screwed into the rim, with a nut and a seal | None |
| The Minimotors manual | ‘tube tire’[7] | ‘tubeless tire’[6], ‘runflat’[9] or ‘self-sealing’[8] | ‘air solid tire’, at the rear of the Dolphin[10] |
In the Minimotors manuals, the ‘self-sealing’ tyre is presented as an option for tubeless[10]. The manual for the Dualtron Thunder 3 mentions ‘runflat’, and our product page states that these are tubeless tyres with factory-fitted anti-puncture gel. The set-up can also change from one production run of a model to another: if in doubt, the marking on the sidewall is what counts.
What should you do right after a puncture?
- Stop as soon as the steering feels soft or the rear starts to float. Riding on a flat crushes the sidewalls and damages the tyre from the inside, to the point of making it unrepairable, even for a hole in the tread[1].
- Switch the scooter off before handling it.
- Look for the cause all the way round the tyre: nail, screw, shard of glass, thorn. On a tubeless tyre, leave the object in place until you are ready to fit a plug: it seals part of the hole.
- Find where the hole is. In the tread, a repair is often possible. In the shoulder, never. In the sidewall, generally not[1].
- Small hole in the tread of a tubeless tyre: fit a plug using the method below. In every other case, do not ride: walk home or have the scooter transported.
How do you repair a tubeless tyre with a plug?
A plug is a sticky rubber strip that you push into the hole from the outside. On a scooter, its big advantage is that it goes in without removing the motor wheel. It is only suitable for a small hole in the tread. Pirelli warns that these kits must be used with care, so as not to damage the tyre further[3].
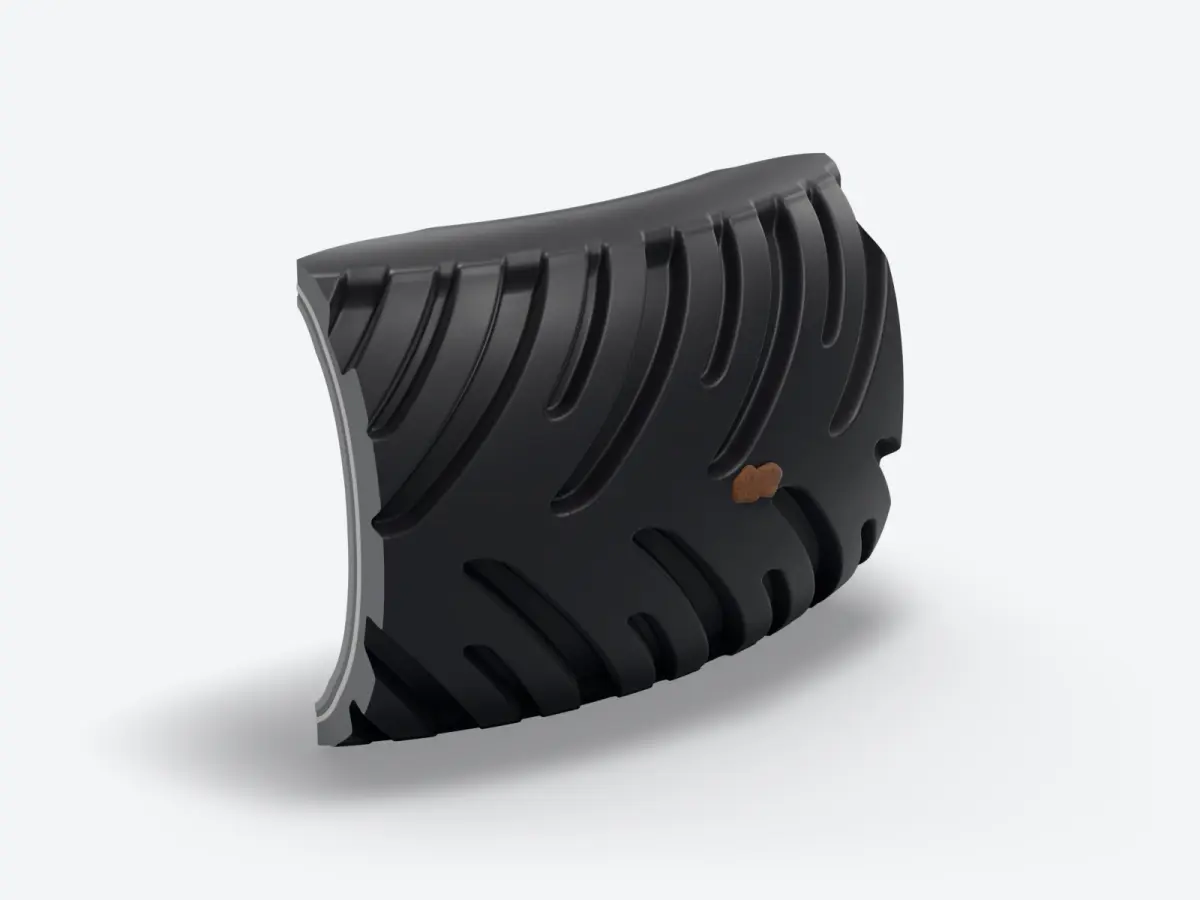
- Find the hole and mark it with chalk. Pull the object out with pliers, noting the angle it went in at.
- Work the reamer into the hole at the same angle, in and out several times. It cleans the hole and sizes it for the plug.
- Thread a plug through the eye of the needle up to half its length. Coat it with glue if your kit includes some.
- Push the needle into the hole, still at the same angle, leaving both ends of the plug sticking out.
- Pull the needle out in one firm, straight movement, without twisting it. The plug stays in the hole.
- Trim the ends flush with the tread, without pulling on them.
- Re-inflate to the pressure in your manual. Brush soapy water over the plug and around the valve: if bubbles form, it is still leaking.
- Ride gently home or to the workshop, and have the tyre checked off the rim as soon as possible.
How do you change an inner tube on a motor wheel?
A punctured inner tube gets replaced. On the wheel without a motor, the job is much like on a bicycle. On the drive wheel, the motor sits in the hub, its cable comes out through the axle, and that is where the damage happens. Take your time and photograph each step as you take it apart.
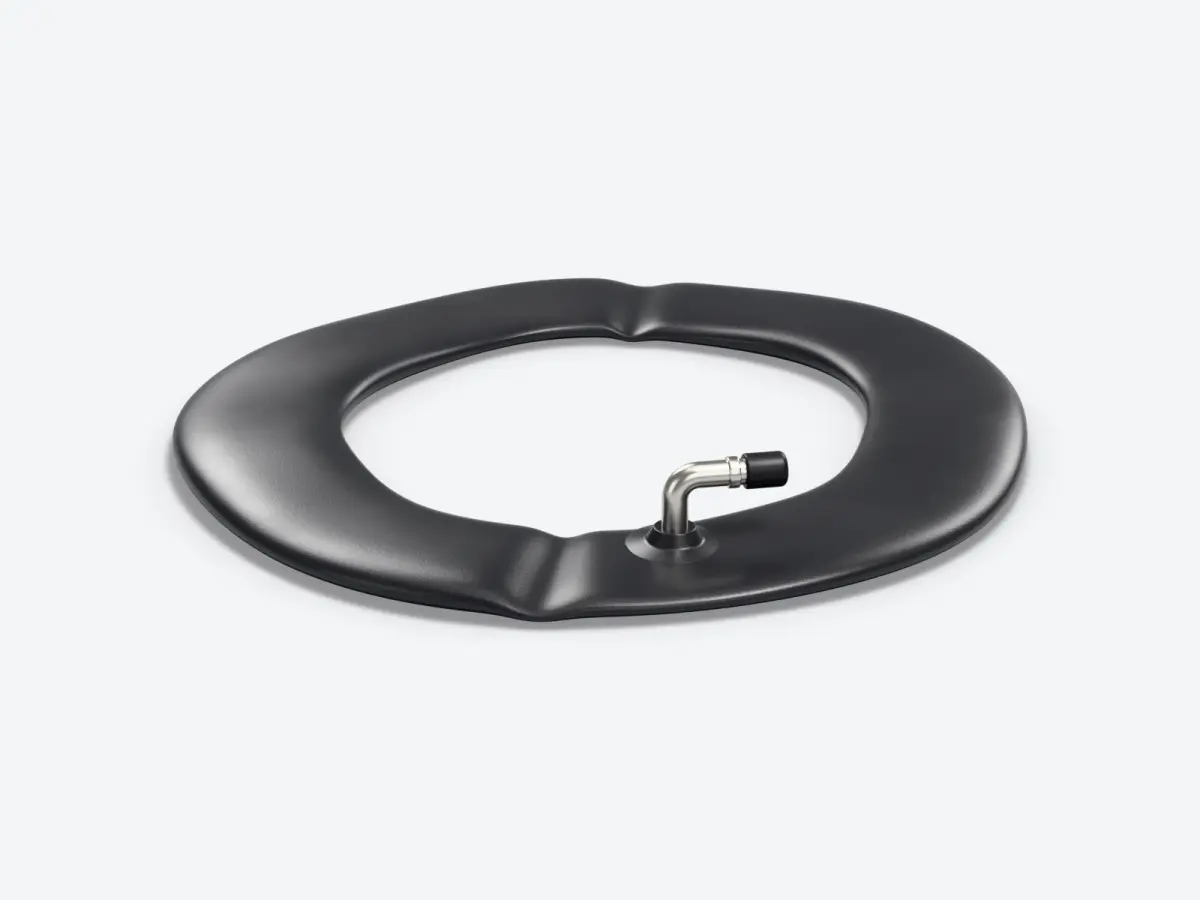
What you need
- The spanners or keys for your axle, caliper and mudguard.
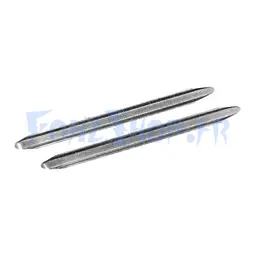
- Two or three plastic tyre levers.
- A valve core tool, to unscrew the inside of the valve and let the air out.
- A new tube in your tyre size, with the same valve type, straight or angled.
- A pump with a pressure gauge.
- Switch the scooter off. Photograph the motor cable routing, which way round the axle washers go and the position of the brake caliper.
- Disconnect the motor connector before touching the axle. The cable must never take the weight of the wheel.
- Remove the brake caliper, or let the disc come out with the wheel, depending on your model. Do not touch the brake lever again until the disc is back between the pads.
- Loosen the axle nuts and take the wheel out, easing the cable free without bending it. Keep the washers in order.
- Unscrew the valve core to let all the air out. Push the tyre beads away from the rim all the way round, pressing with your hands.
- If your rim is made of two bolted halves, unbolt them instead of forcing the tyre. Otherwise, lever one bead over the rim with the tyre levers, a little at a time.
- Take the tube out. Run your hand gently around the inside of the tyre to find what caused the puncture, then look at the rim bed. Skip this step and the new tube will puncture on the first turn.
- Inflate the new tube just slightly so it takes shape. Push the valve through its hole, the right way round, then slip the tube into the tyre.
- Refit the bead by hand as far as you can, finishing near the valve. Check that no part of the tube is trapped between the bead and the rim.
- Inflate gently while watching the moulded line near the rim: it must stay the same distance from the edge all the way round. Then inflate to the pressure in your manual.
- Refit the wheel in reverse order: washers, nuts tightened firmly, caliper, connector. Before riding, squeeze the brake several times and spin the wheel.
The motor wheel traps
The motor cable
It runs through the axle. Pulled, pinched or twisted, its wires break. Always disconnect it first.
The angled valve
Pointing the wrong way, it touches the disc or becomes impossible to reach. Note which way it faces before taking things apart.
The hydraulic brake
With the wheel out, one squeeze of the lever pushes the pads together, and the disc will not go back in. Slip a folded piece of cardboard between them.
The two-piece rim
On some wheels, including those on the Dualtron Mini and Togo, the rim is made of two bolted halves. Unbolt it, do not force it with a lever.
The axle washers
The ones with a flat stop the axle turning in the arm. Refitted the wrong way, they let the axle turn and the cable tear out.
After removing the caliper, check your brakes while stationary and then at low speed. Adjustment and bleeding are explained in our brakes article.
Does preventive sealant really work?
Preventive sealant, also called tyre sealant, is poured into a tubeless tyre. As the wheel turns, it spreads around the inside and plugs small punctures as they happen. Schwalbe presents it as preventive puncture protection. Its figures refer to its Doc Blue sealant, for bicycle tyres[4].
| Question | Schwalbe's answer |
|---|---|
| What does it seal? | Small punctures. It is not suitable for major damage, cuts or blowouts[4]. |
| How long does it work for? | About 2,000 km, or 2 to 7 months. The time varies greatly with temperature[4]. |
| And after that? | It dries into a rubber film, or separates into deposits and liquid. It needs checking and topping up[4]. |
| Any precautions? | Shake well before pouring. Do not inflate with a CO2 cartridge, which harms it[4]. |
Several scooters in the catalogue have it from the factory, such as the Thunder 3. This gel does not replace the right pressure, nor a check of the tyre after a puncture: if it has sealed a hole, the object may still be stuck in the rubber.
Does a solid tyre mean the end of punctures?
A solid tyre has no air: it cannot puncture and needs no pressure checks. Minimotors fits one at the rear of the Dualtron Dolphin[10], and we sell solid rear tyres for the Dualtron Mini range. The price you pay is comfort: our tyre article cites a study on vibration in which the solid tyre performs worst.
- It makes sense on a small scooter, for short journeys on roads in good condition.
- It makes less sense on a powerful, heavy scooter. In our experience, pneumatic tyres, with an inner tube or tubeless, are what we recommend there.
- It still wears out. It needs changing when the tread is smooth or split, just like a pneumatic tyre.
- It does not fit everywhere. Choose a solid tyre designed for your rim and your model, never a different diameter.
Repair or replace the tyre?
| What you notice | What to do |
|---|---|
| Small hole in the tread of a tubeless tyre, never ridden flat | A plug to get home, then a check with the tyre off the rim. A mushroom patch fitted from the inside is the safest repair[1]. |
| Hole in the shoulder | Change the tyre: it cannot be repaired[1]. |
| Hole or cut in the sidewall | Change the tyre: it generally cannot be repaired[1]. |
| Tyre ridden flat or severely under-inflated | Take it off and look inside. Rubber marked or coming away: change the tyre, even if the hole is in the tread[1]. |
| Cut too big for a plug | Change the tyre. Preventive sealant does not seal cuts either[4]. |
| Punctured tube, tyre intact | Change the tube, after removing what caused the puncture. |
| Tube torn at the base of the valve | Change the tube and correct the pressure. In our experience, a tyre that is too soft creeps round the rim and takes the valve with it. |
| Casing visible, bulge, smooth tread | Change the tyre. The signs of wear are covered in our tyre article. |
| Repeated punctures in the same place | Look for debris left in the tyre, a burr on the rim or a damaged rim bed. |
Pirelli comes down on the side of caution: it recommends changing a tyre whenever it has been damaged[3]. Changing a tubeless tyre on a motor wheel takes a real blast of air to seat the beads on the rim. Schwalbe recommends a compressor in difficult cases[4]. Without a compressor, this is a good time to go to one of our authorised repairers.
How do you avoid the next puncture?
- Keep the right pressure. An under-inflated tyre punctures more easily, as Teverun points out in its manual[5]. The figure for your model is in our tyre pressure chart.
- Go round the tyres at every check. A shard of glass or a sharp point stuck in the tread will end up going through the rubber.
- Steer round glass and debris, which build up in gutters and along the edges of the road.
- On tubeless tyres, look after the preventive sealant if there is any, and top it up when it has dried.
- A tyre that slowly goes down with no visible hole may have a faulty or badly fitted valve, a leak at the rim or corrosion[3]. Check the valve first.
- Change a worn tyre before winter or a long ride, rather than waiting for a puncture.
Your puncture kit and your parts
- For a tubeless tyre: a plug kit with a reamer and needle, and a bottle of soapy water.
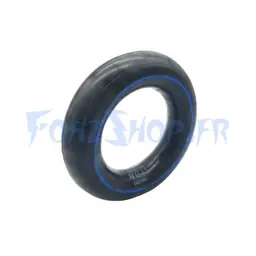
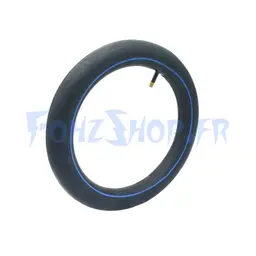
- For an inner tube: a spare tube in the right size, two or three tyre levers and a valve core tool.
- For everyone: a pump with a pressure gauge and the spanners for your axle.
- Before ordering: copy the exact size written on your sidewall, and the valve type, straight or angled.
Our tyres are in the tyres category, inner tubes in the inner tubes category and valves in the valves category, each with the list of compatible models.


Sources
- Michelin, Car advice, updated 26 February 2026, checked 17 November 2026, Est-ce que mon pneu est réparable ?
- Michelin, Car advice, updated 14 October 2026, checked 17 November 2026, Explication des marquages des pneus : comment lire un pneu ?
- Pirelli, Motorcycle tyre FAQ, checked 17 November 2026, FAQ sur les pneus moto : questions et réponses les plus fréquentes
- Schwalbe, Technology and FAQ, bicycle tyres, checked 17 November 2026, Tubeless
- Teverun, French-language manual of March 2024, maintenance p. 11, checked 17 November 2026, Manuel d'utilisation Teverun Fighter Mini, Blade Mini, Blade GT II
- Minimotors, English-language manual, spec sheet p. 6, checked 17 November 2026, Dualtron Victor Limited Product Manual
- Minimotors, English-language manual, spec sheet p. 6, checked 17 November 2026, Dualtron Forever Product Manual
- Minimotors, English-language manual, spec sheet p. 6, checked 17 November 2026, Dualtron Thunder 2 Product Manual
- Minimotors, English-language manual, spec sheet p. 6, checked 17 November 2026, Dualtron Thunder 3 Product Manual
- Minimotors, English-language manual, spec sheet p. 6, checked 17 November 2026, Dualtron Dolphin Product Manual
About the author

Benjamin Gayaud
Managing director of FōhzShop
He runs FōhzShop and develops EyeX, the app for Dualtron and Rovoron scooters. He personally tests the electric scooters the shop sells.
Read next
Maintenance9 min read
Electric scooter tyre pressure: the chart by wheel size and by model
The tyre pressure for every scooter in our catalogue, taken from the manufacturer's manual, in psi and bar, sorted by wheel size. Plus the effect of weight and cold, how to read the sidewall and a routine for checking.
Maintenance10 min read
Stem wobble or steering play on an electric scooter: causes and fixes
Handlebars that clunk under braking or a stem that moves: the play comes from one of five places. Here is the test to do with the scooter standing still, what can be tightened, what needs replacing, and the torque settings given in the manuals.
Maintenance9 min read
Electric scooters in winter: riding in the cold and storing the battery
Range that melts away, no charging below 0 °C, tyres that lose pressure, salt that attacks the bolts: what winter changes for an electric scooter, and how to store it for several weeks without damaging the battery.